Fujifilm XF23mm F2 Unboxing!

I’ve been quiet for some time now. Life has a way of speeding by when you’re not paying attention. I filmed this unboxing of the Fujifilm XF23mm F2 prime lens a while back and have only just got around to editing and posting the video. If you’re interested, here it is:

I took this lens and the XT3 to Thailand and to France for three months. Stay tuned for a review and some sample images.

I took the XT3 to Thailand for two weeks, how did it perform?

I recently returned from two weeks in Thailand with the new XT3. I had a good chance to put it through its paces. So how did it fair?

Unfortunately it’s not all sunshine and roses - first the bad.

Camera lock-ups.

Several times the camera locked up and become totally unresponsive. Live view on rear LCD, but no info. On/Off didn't do anything. Only way to recover is to remove the battery and reinsert. The camera was brand new, and running the initial version 1.01 firmware. I’m unsure what triggered the freezes - possibly when activating the auto-focus with half-press on shutter or possibly right after taking photo. I would only realize the camera had frozen, when I couldn't take a photo or noticing the LCD screen remained on when turning the power off.

SD card trashed.

I believe this was related to the first issue. I had new 64GB SD card in both slots and was using interval shooting bracketed sequences to capture the sunrise. I checked on the camera some time later. It was writing to SD slot 2 at the time and there was an error message about failing to write to card.  The camera had locked up at some point, though it was continuing to capture on interval. I had to remove and reinsert the battery. When I tried some manual captures after restarting, the error persisted. The card was completely wrecked - cannot read it on PC and cannot read or format it in camera either. Luckily there were a few sunrise exposures on the slot 1 card, but most of the shots from that morning are gone.

Auto-focus gremlins.

Occasionally I found I couldn't move the focal point and auto-focus wouldn't work. I could switch to manual focus and get it working again, but this was a little annoying when it did occur. When the auto-focus works, it's great. It’s very quick to lock on and focus. I did notice the 18-135mm was sometimes focusing nearer than expected too. Trying to focus on a distant landscape and it would focus at somewhere between 3-5m, even with a wide aperture. I could switch to manual focus and adjust the focus correctly. The 23mmF2, however, behaves beautifully. It is quiet and super quick and accurate to focus. Now that I’m back from travelling, I will try do some more thorough testing and keep an eye on this to see if it's a recurring issue.

Under exposing.

I often shoot in aperture priority. The exposure measurement seems to be significantly under exposed, especially with a little back-light. It will do everything it can to not blow out the highlights, which is great, but this results in very dark image out of camera that will need boosting in post processing. I was constantly adjusting the EV comp dial anywhere from +2/3 to +1 1/3 while shooting. I may as well have been shooting full manual exposure. I tried all the exposure metering options, but all had same issue. I’m used to the metering on the XT1 and X70 and don’t experience this level of under exposure on either of those older cameras.

Lacking RAW support in Software.

I was really hoping to use Skylum’s Luminar and Aurora to process the images from this trip. I’ve had these software packages for a while, but it’s hard to break out of my current Lightroom workflow. The library to develop module switch is so simple, starting up any 3rd party software is just a chore. I wanted to change my approach and really embrace Luminar and Aurora this time. Unfortunately, as of this writing, Skylum’s software does not support the RAW files from the XT3. It will open the file, but won’t allow any edits. I was able to open and edit the files in Lightroom, though it did crawl and editing was a bit slower than I’d like. If Skylum really wants to take market share away from Adobe, they’re going to have to be more on the ball with updates and support for new cameras. Come on Skylum - you can do it!

Now for the good.

Firmware updates

Fujifilm did release a firmware update to version 1.02. Normally I wouldn't update mid trip - you never know what may break with a brand new update. I was frustrated with the freezing, so I took the plunge and updated. Since then, everything has been functioning great. I haven't experienced any further lockups. After the firmware update, pattern metering seems better too - at least it’s closer to what I'm used to on the XT1.

Improved Bracketing

I Love the new bracketing control! You can customize the number of shots and the EV spread. No longer are we restricted to 0, +1 and -1! And it seems to use the fast-burst mode now for bracket shooting. It takes the exposures in a very quick bust - it’s complete so quick, you hardly realize it’s done! Being able to customize the bracketing this much will be great for HDR shots. With the great exposure range of the x-trans sensors, I always felt -1 to +1 was too narrow. You could often get a great shot with just a single expose. But going -2 to +2 or even -3 to +3 will allow truly massive exposure ranges!

Additionally, it’s possible to shoot bracket sets in interval shooting mode! This means you could do an HDR time-lapse if you felt so inclined. Or you can automate shooting through the golden hour into the blue hour by shooting at say 5 minute intervals and then time-blend the images afterwards.

Focus Stick

The focus stick is really easy to move the focus point, even with eye to the EVF. Having the enhanced phase detect auto-focus points all over the sensor means that there is no compromise moving the focal point to the edges of the frame, which is handy with wider lenses. The LCD panel is also touch sensitive for setting focus and handling swipe gestures. I didn’t use this feature though, as moving the point with the little stick was simple enough.

Faster Response

Everything just feels snappier and quicker to respond. It’s like getting a new phone, or laptop after 3 years. The start-up time is quicker, navigating menus a little more responsive, auto-focus is quick. But unlike a new phone or laptop, everything is pretty much exactly where you expect it to be. Apart from a few menu options shuffling around and many more video options, all the muscle memory I built on the XT1 can just migrate across smoothly to the XT3.

Shooting Video is a breeze

I’m very much a stills photographer, however I’m slowing trying to get more experience shooting video. On the XT1, you had to press the dedicated video button, but this was in a slightly awkward spot next to the shutter button and had to shift your grip in order to press the little recessed button. Shooting video on the XT3 is really simple. Just rotate the ‘drive’ mode dial to video and use the shutter like normal. I’ll definitely experiment more with video in the future.

Great sensor

The new sensor is fantastic. A slight improvement in native ISO and really large dynamic range mean that often you can recover great detail in shadows from almost pitch black silhouettes! This probably explains the reasoning for the metering underexposing by default - you can easily recover those shadows in post and keep all the detail in the highlights. The bump in resolution from the 16 megapixel XT1 and X70 is a nice boost too.

Conclusion

Overall, I really like the XT3. I had a few issues at the beginning, but after upgrading the firmware half way through my trip, the camera performed admirably! If you have the XT3 or are thinking of getting one, definitely make sure you’re on the latest firmware. I can’t speak to the improvements over Fujiflim’s more recent cameras, but I can definitely recommend the upgrade from the XT1 generation. Ergonomics are very similar but slightly improved and responsiveness is greatly improved. I’m looking forward to using the XT3 as my workhorse camera for the next few years!

If you’re looking for the XT3, please consider using this affiliate link to amazon: https://amzn.to/2KzGXJJ This will not cost you anything extra, but will help me keep this website active and updated with future content.

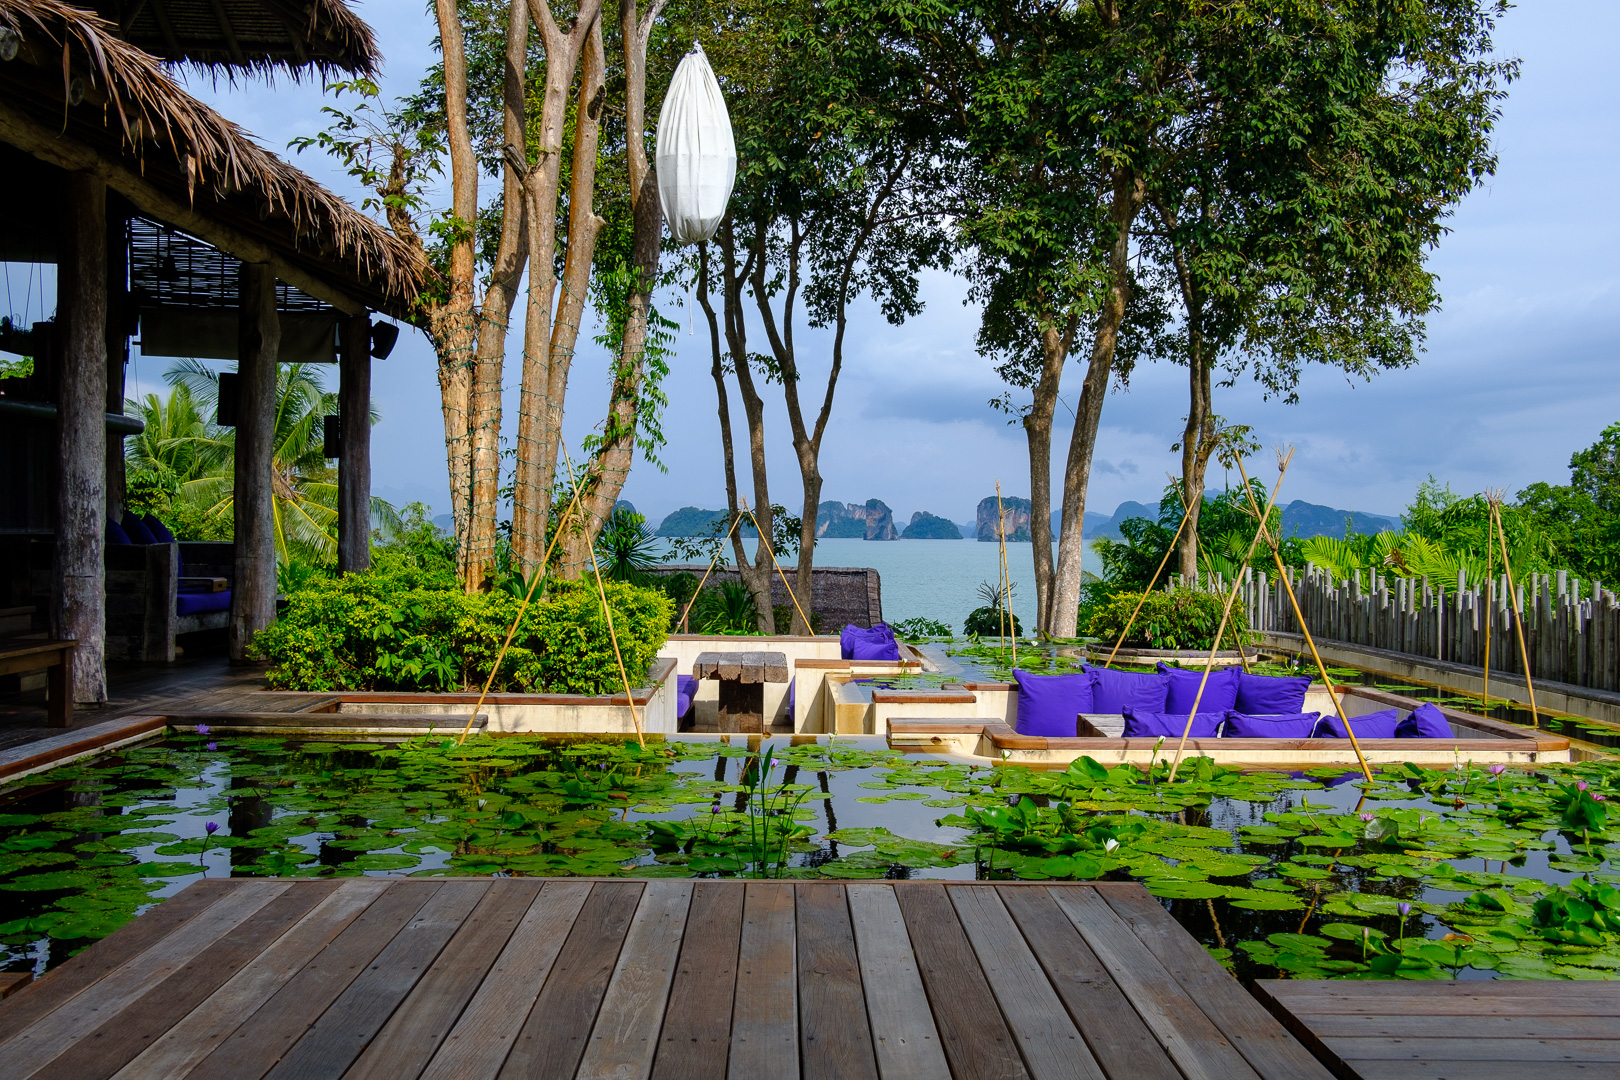
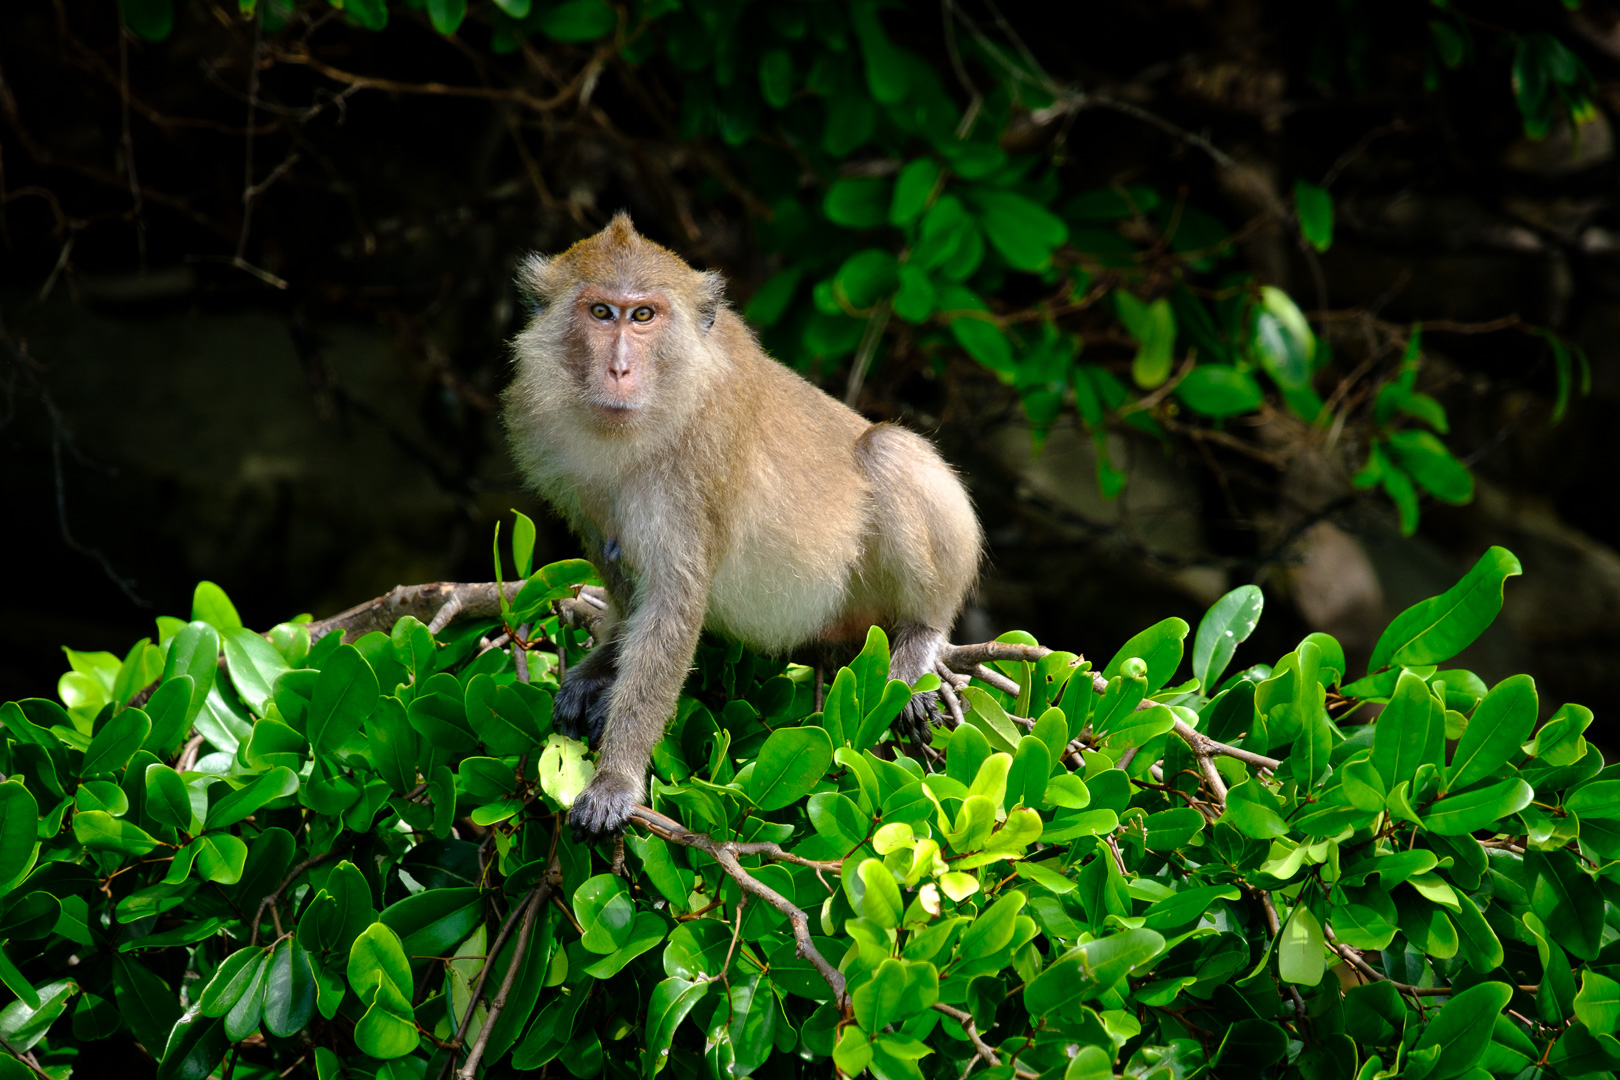
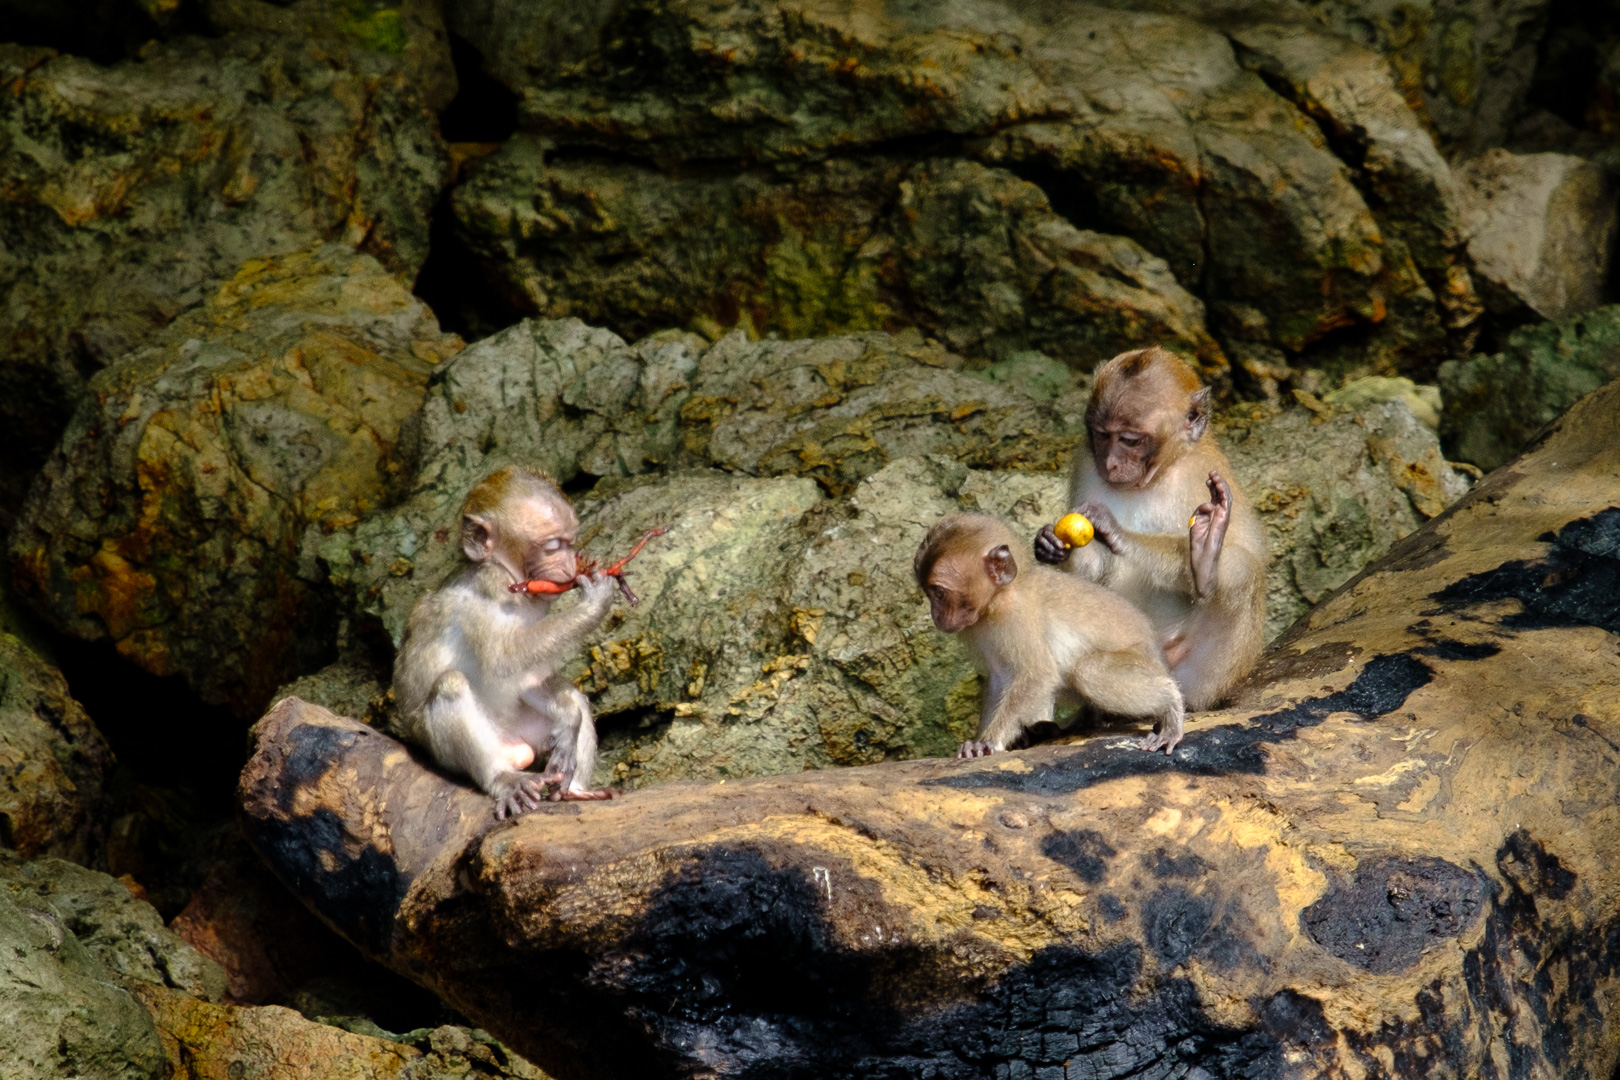
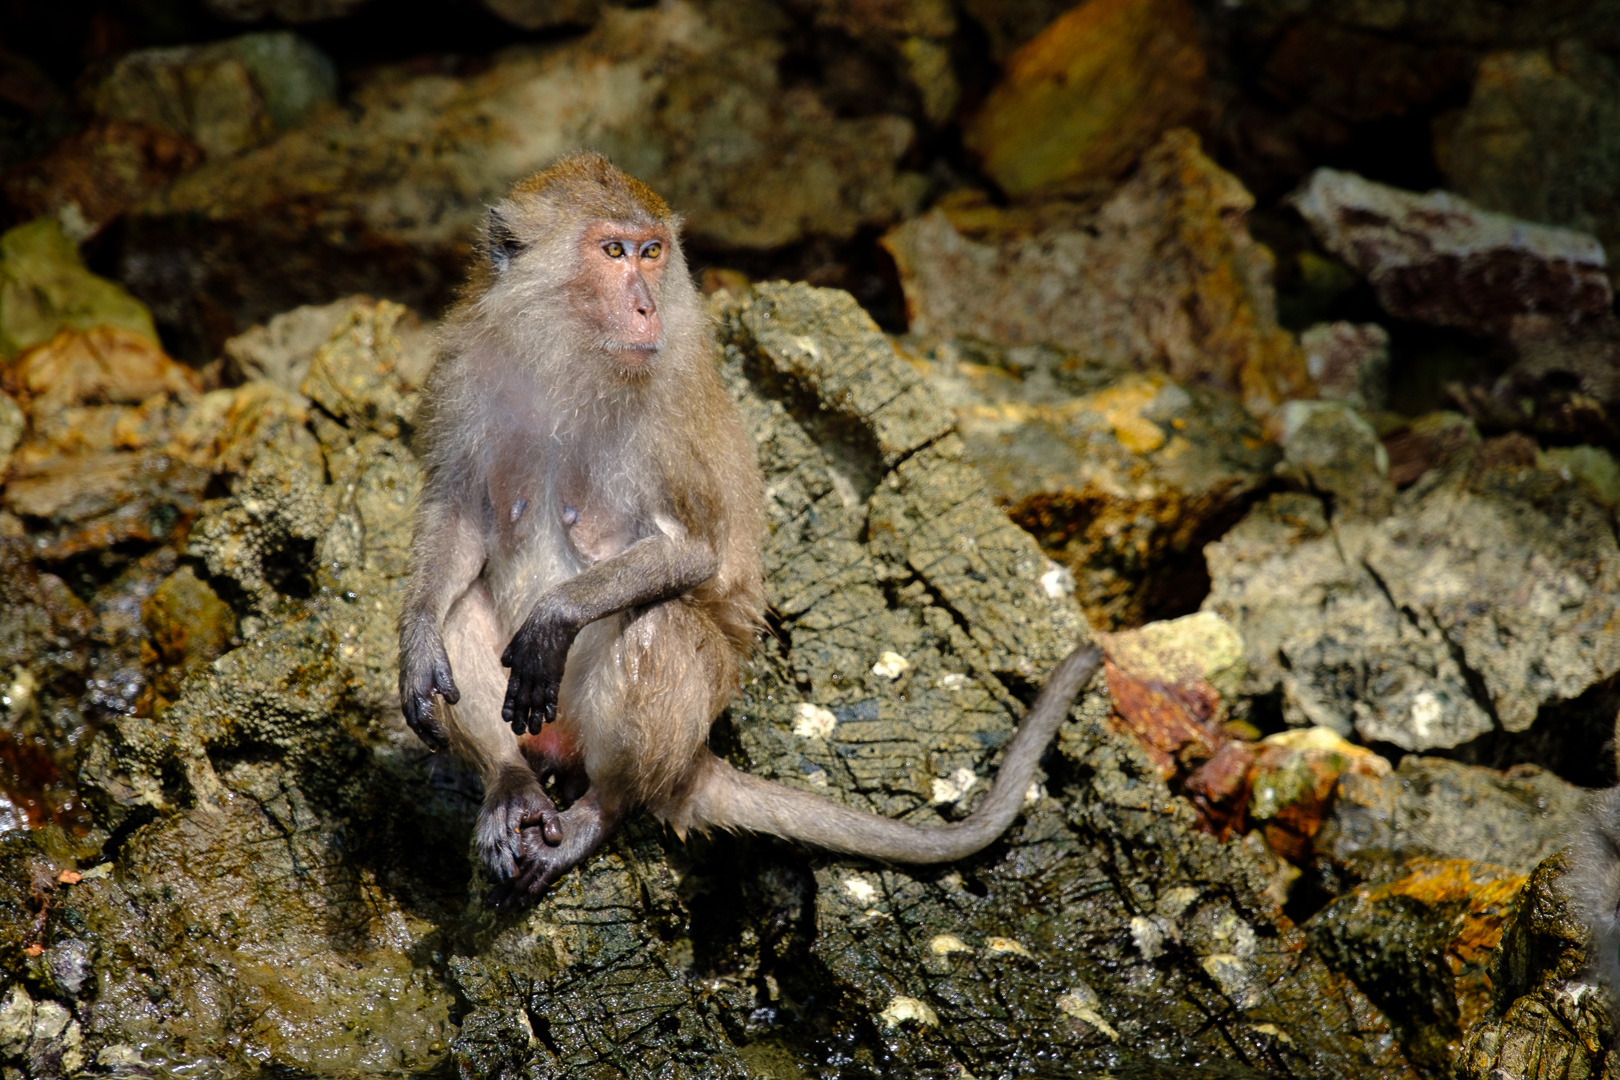
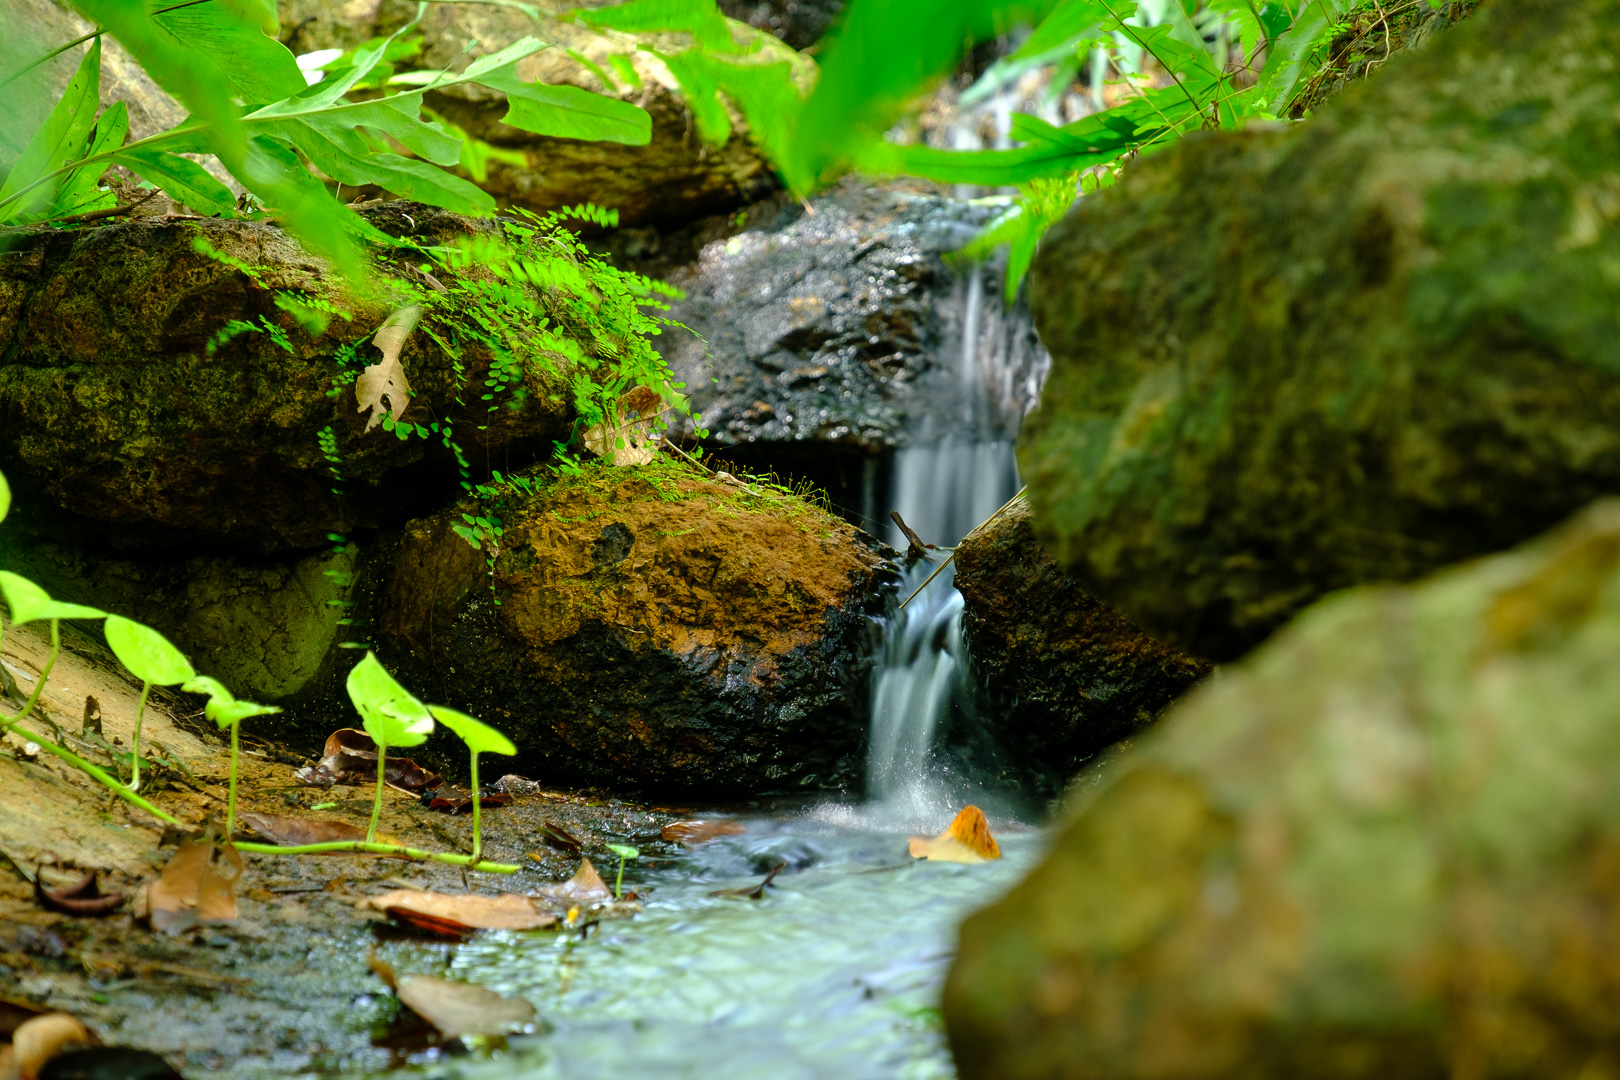
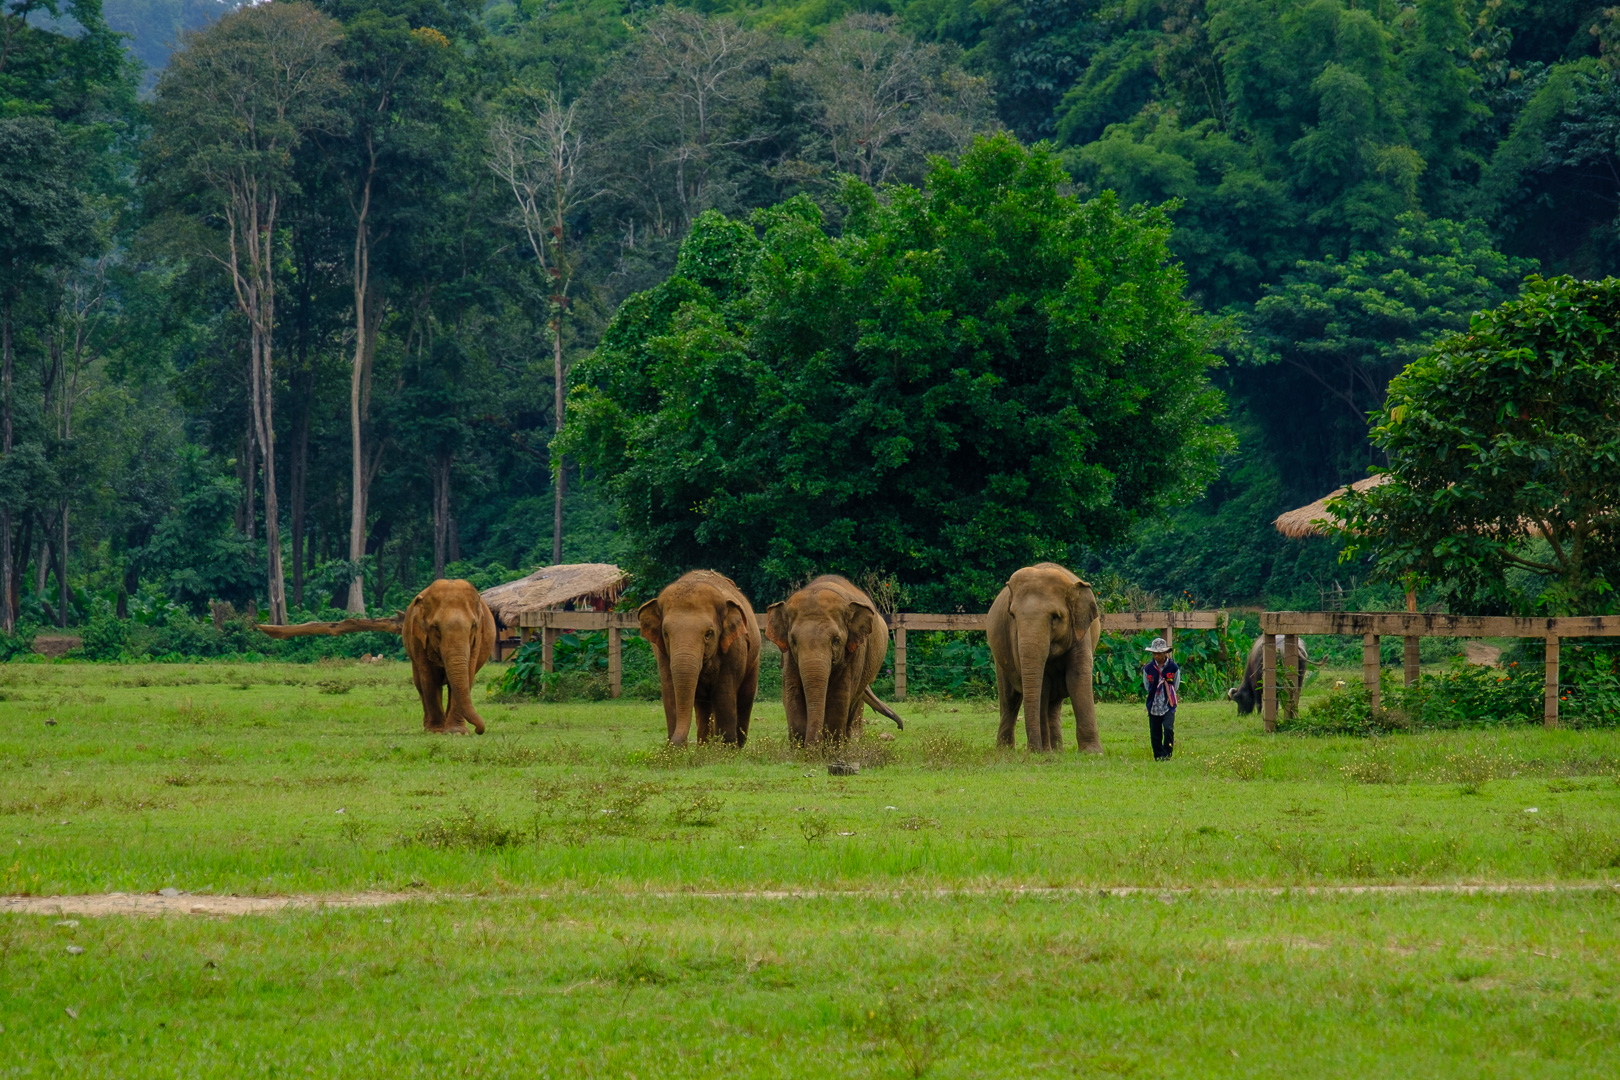
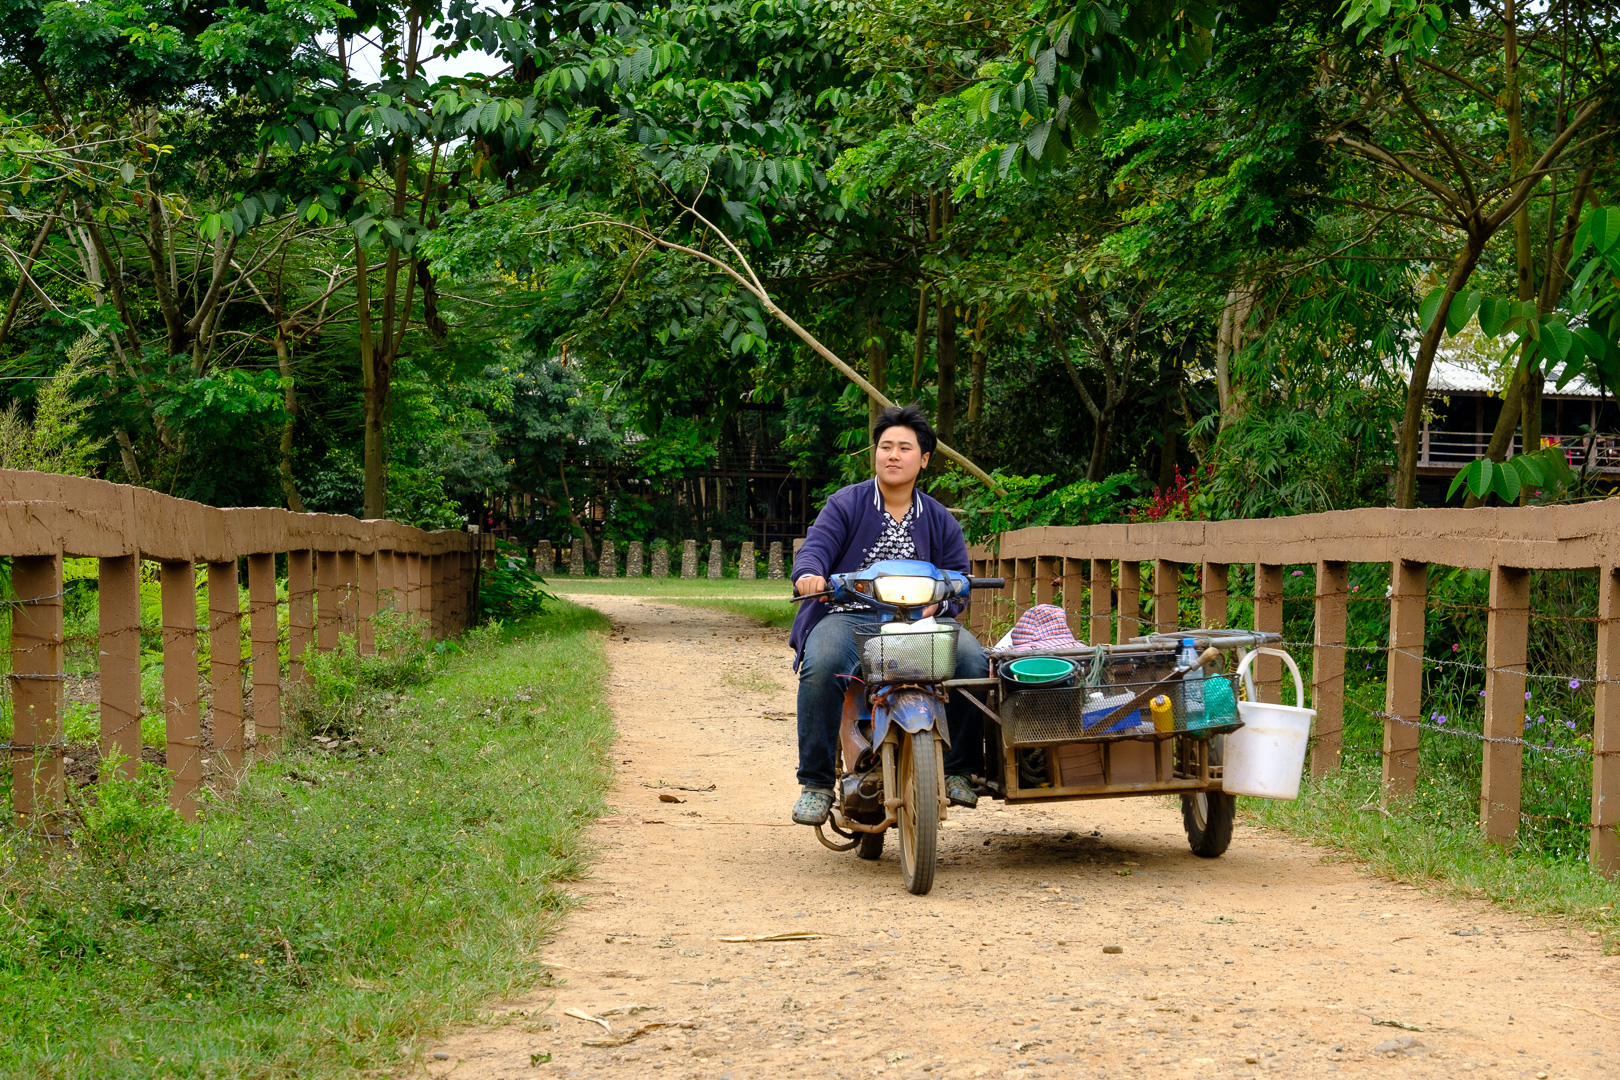
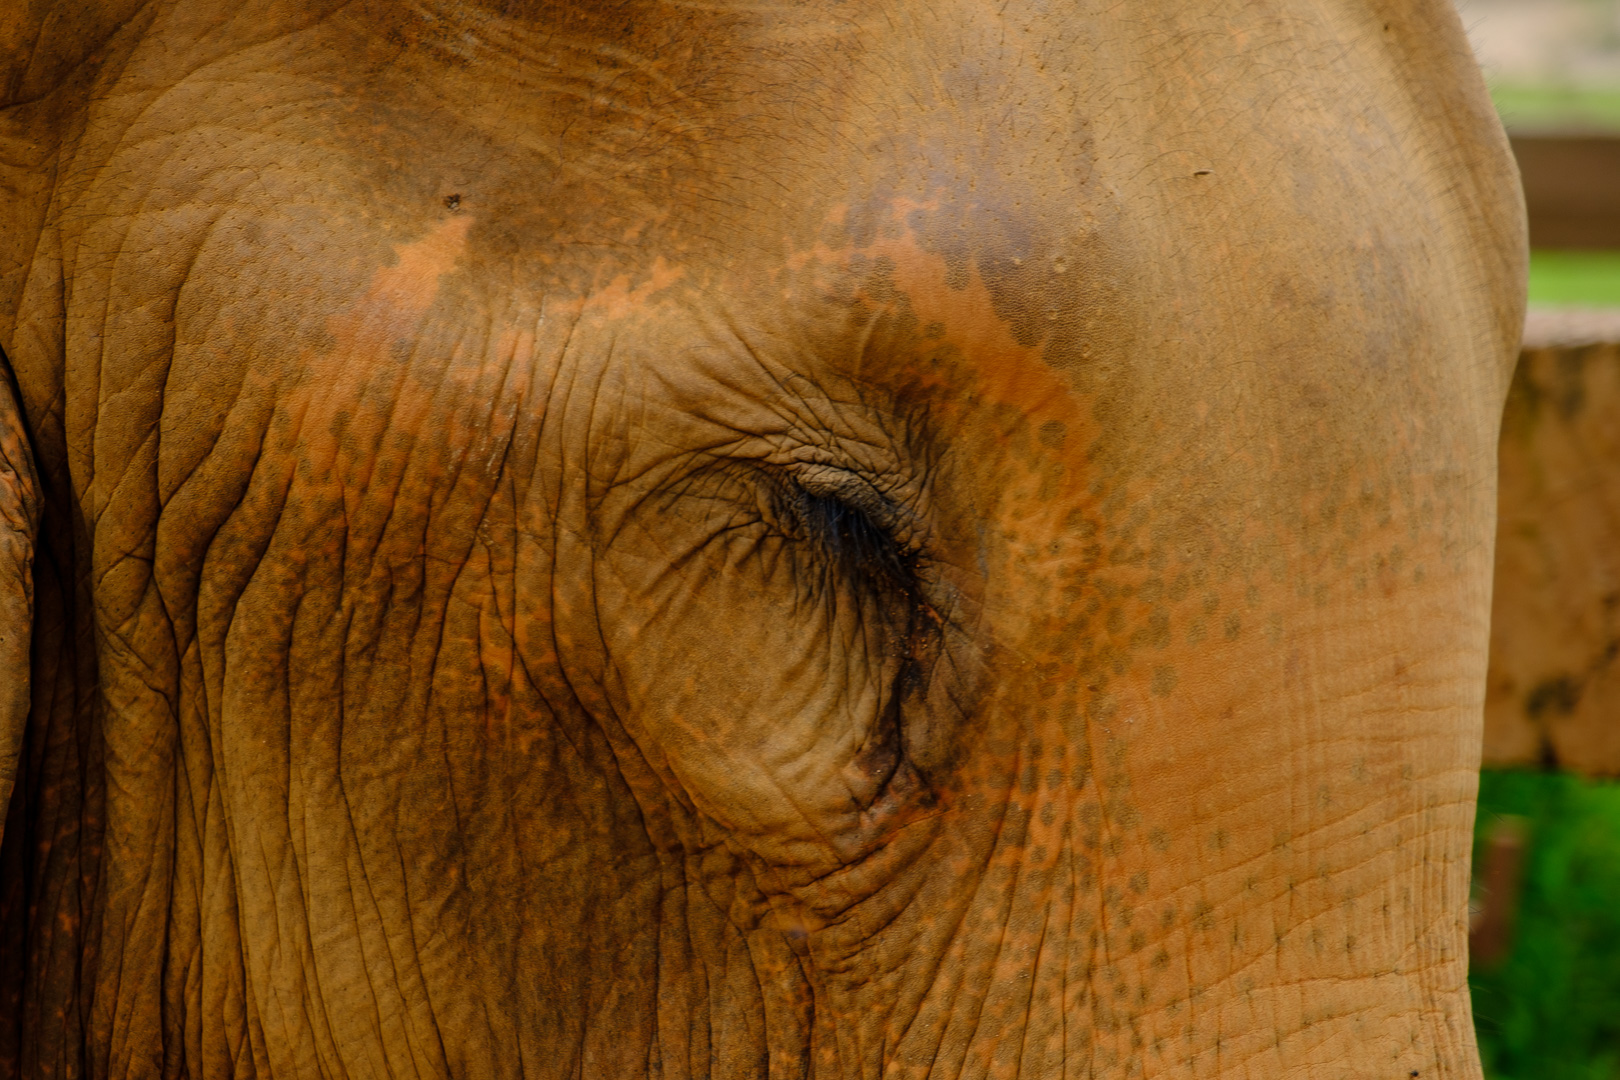
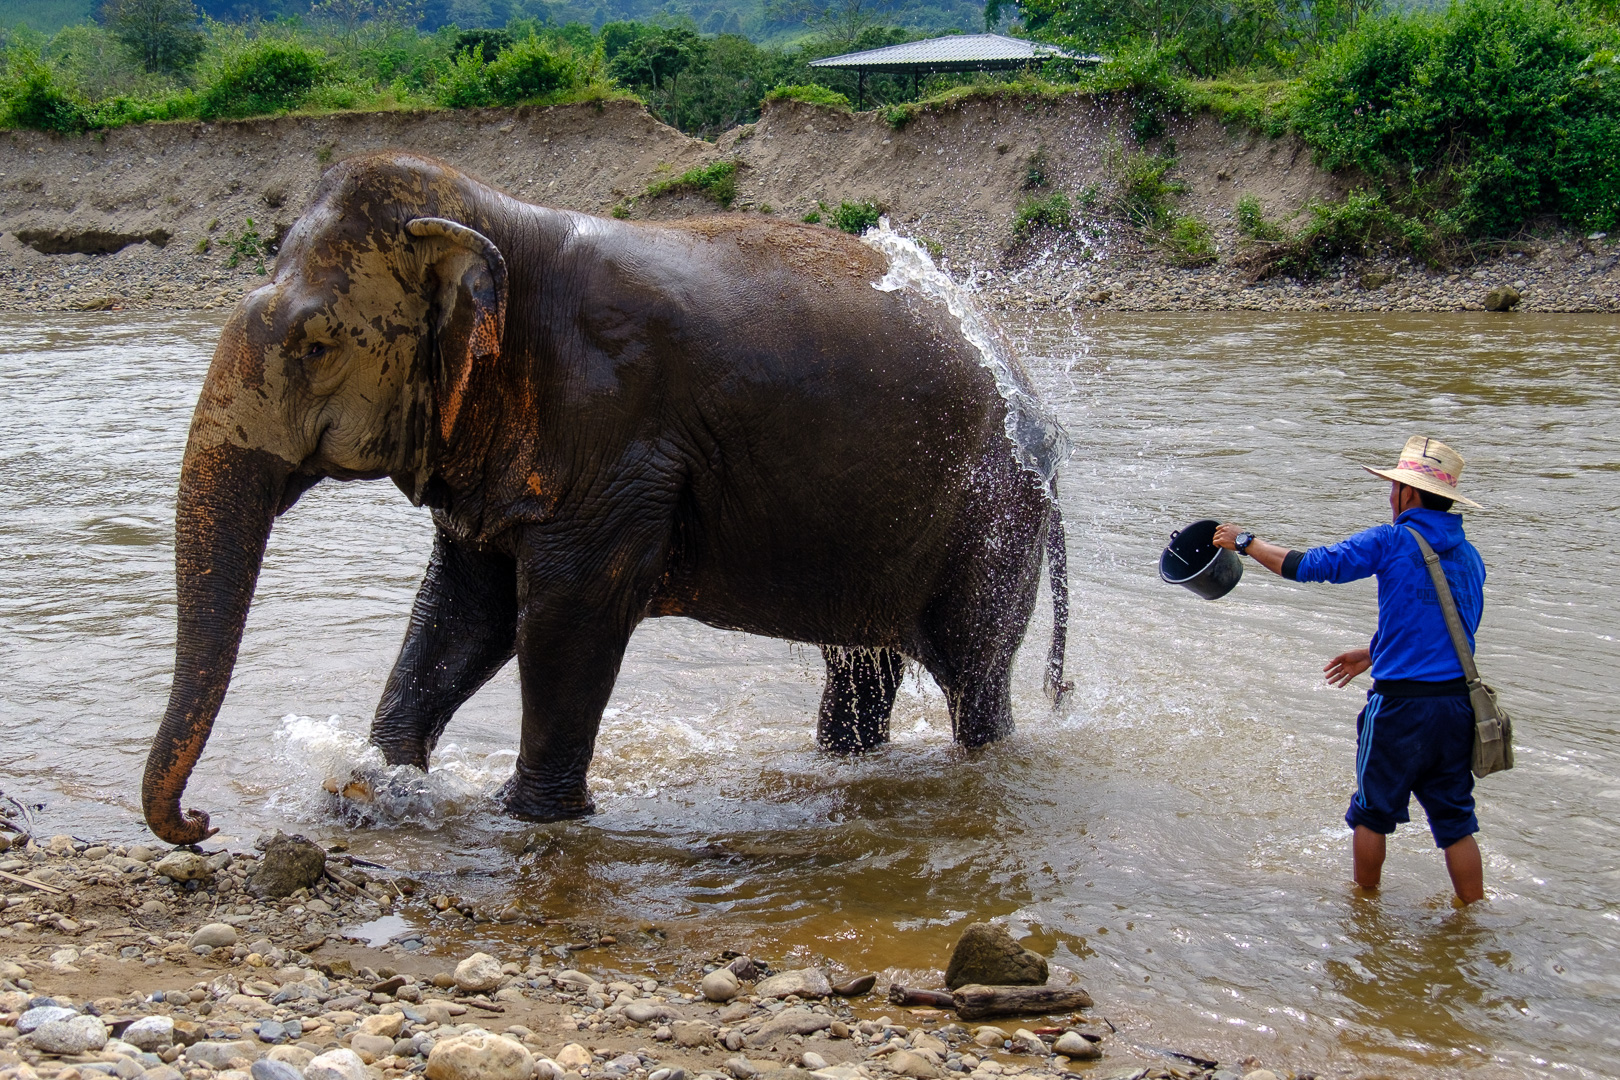
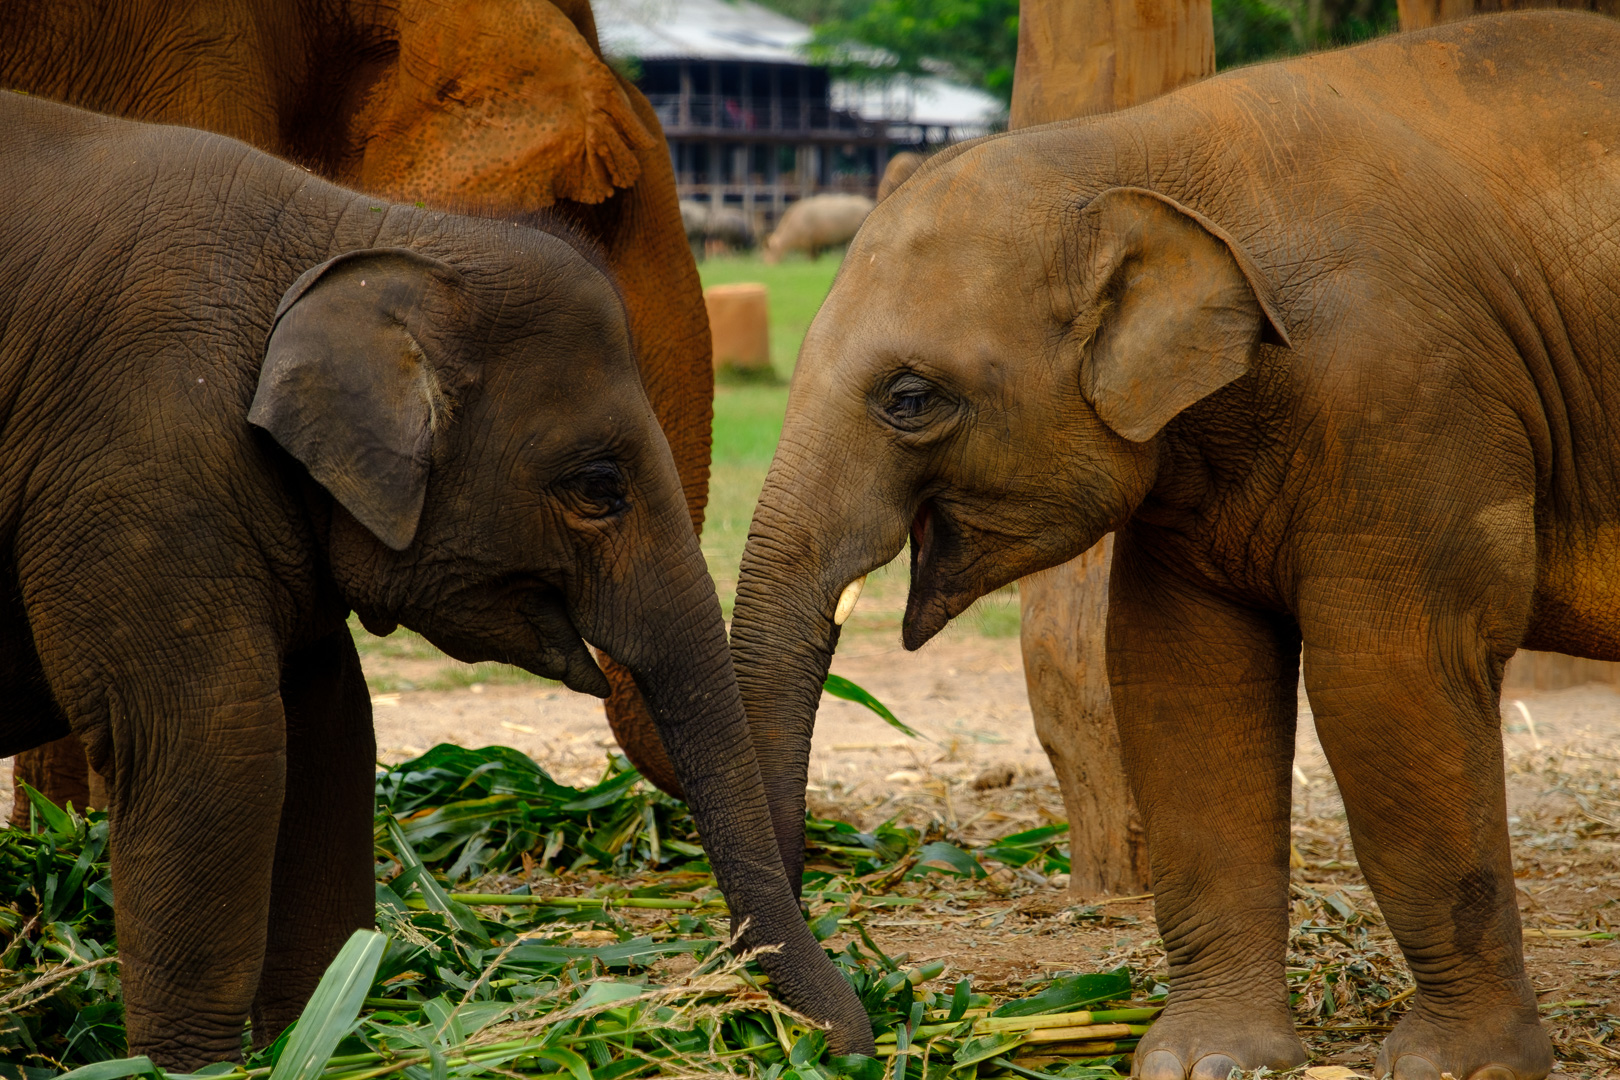
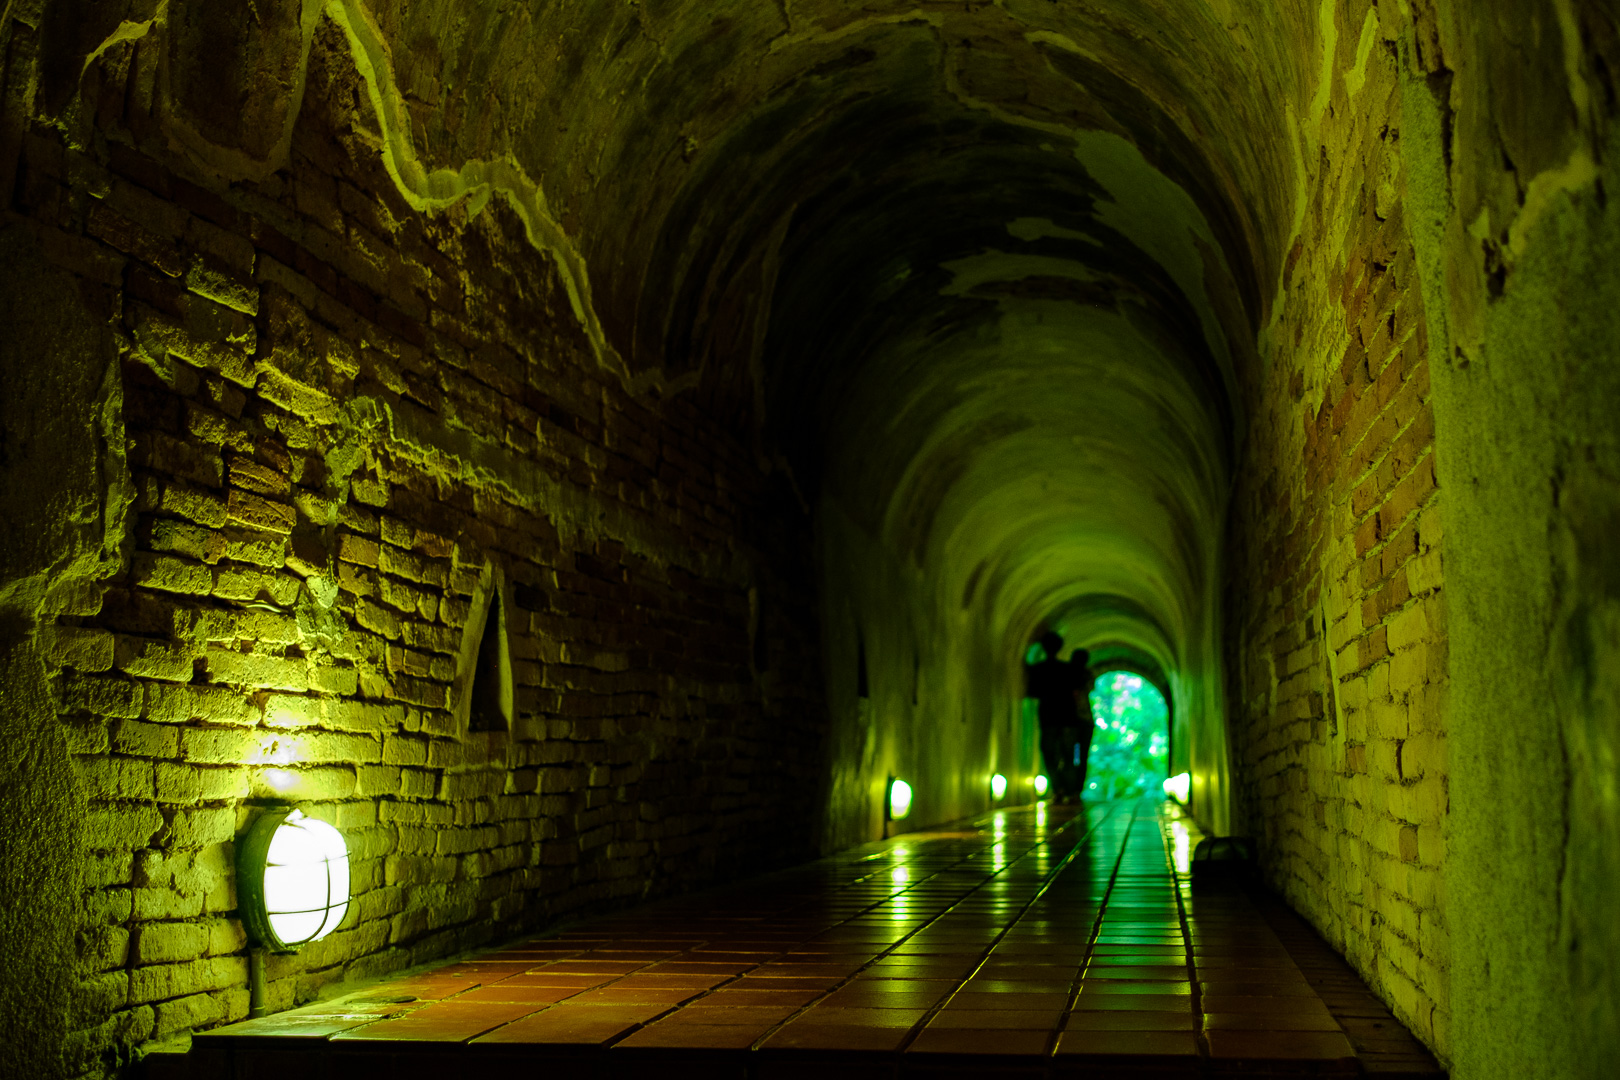
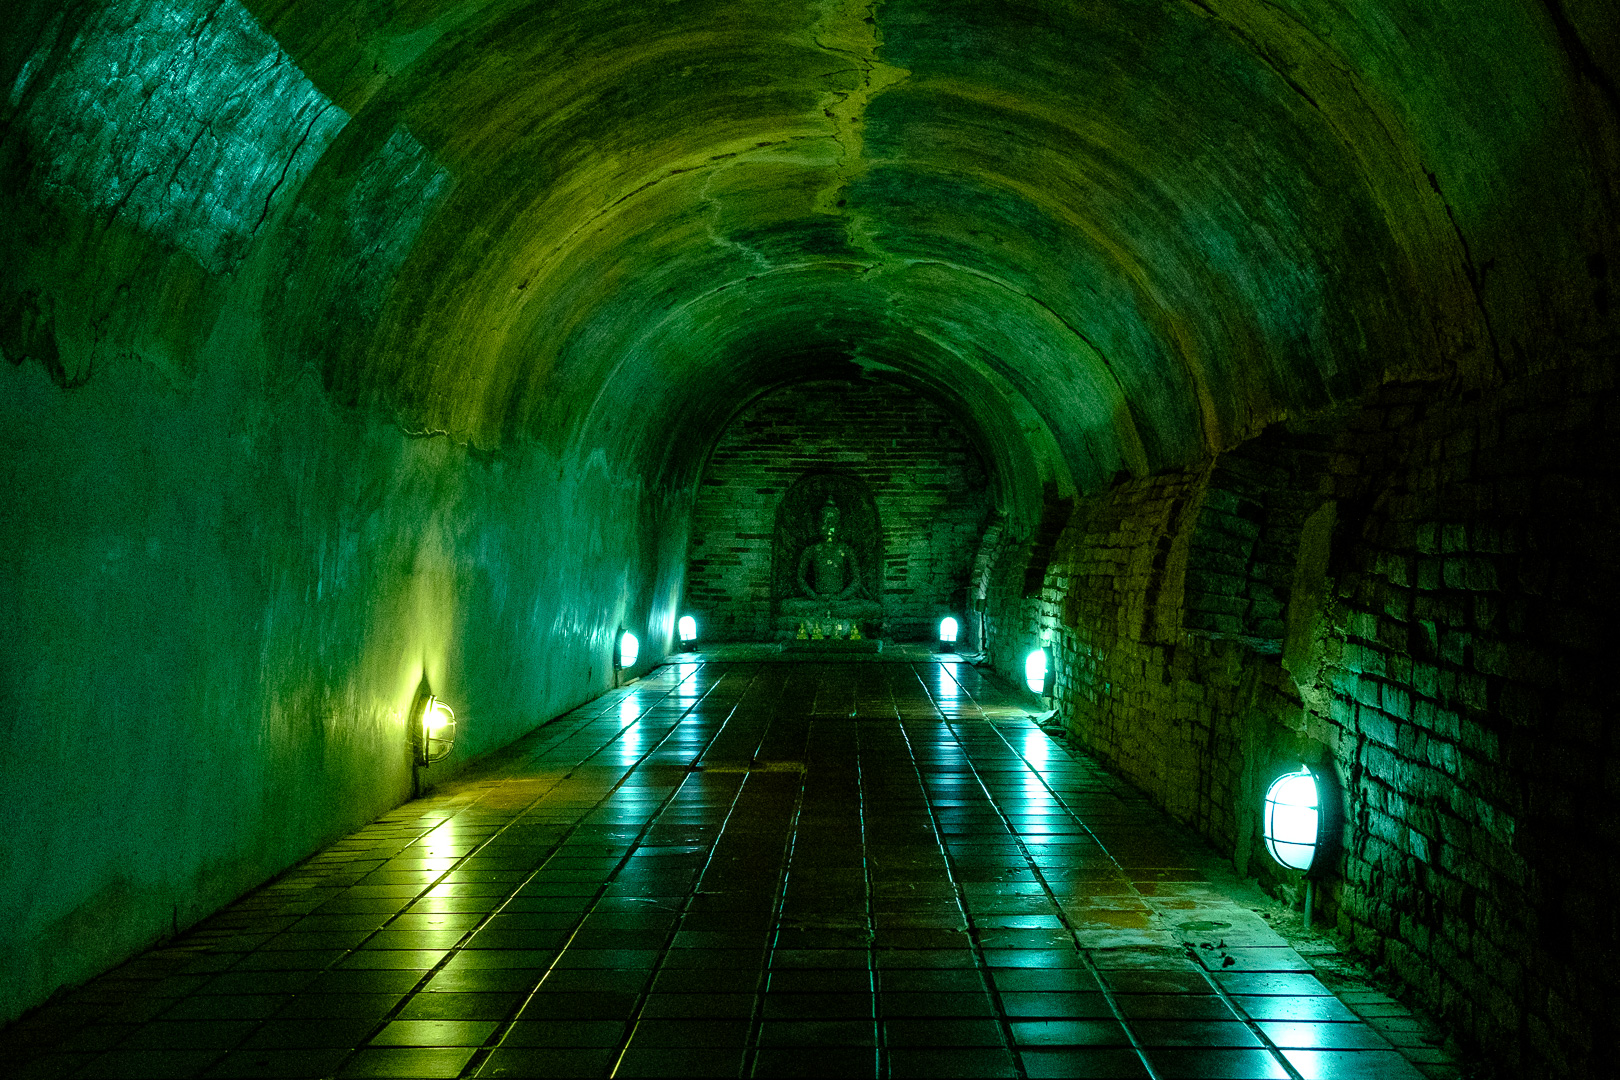
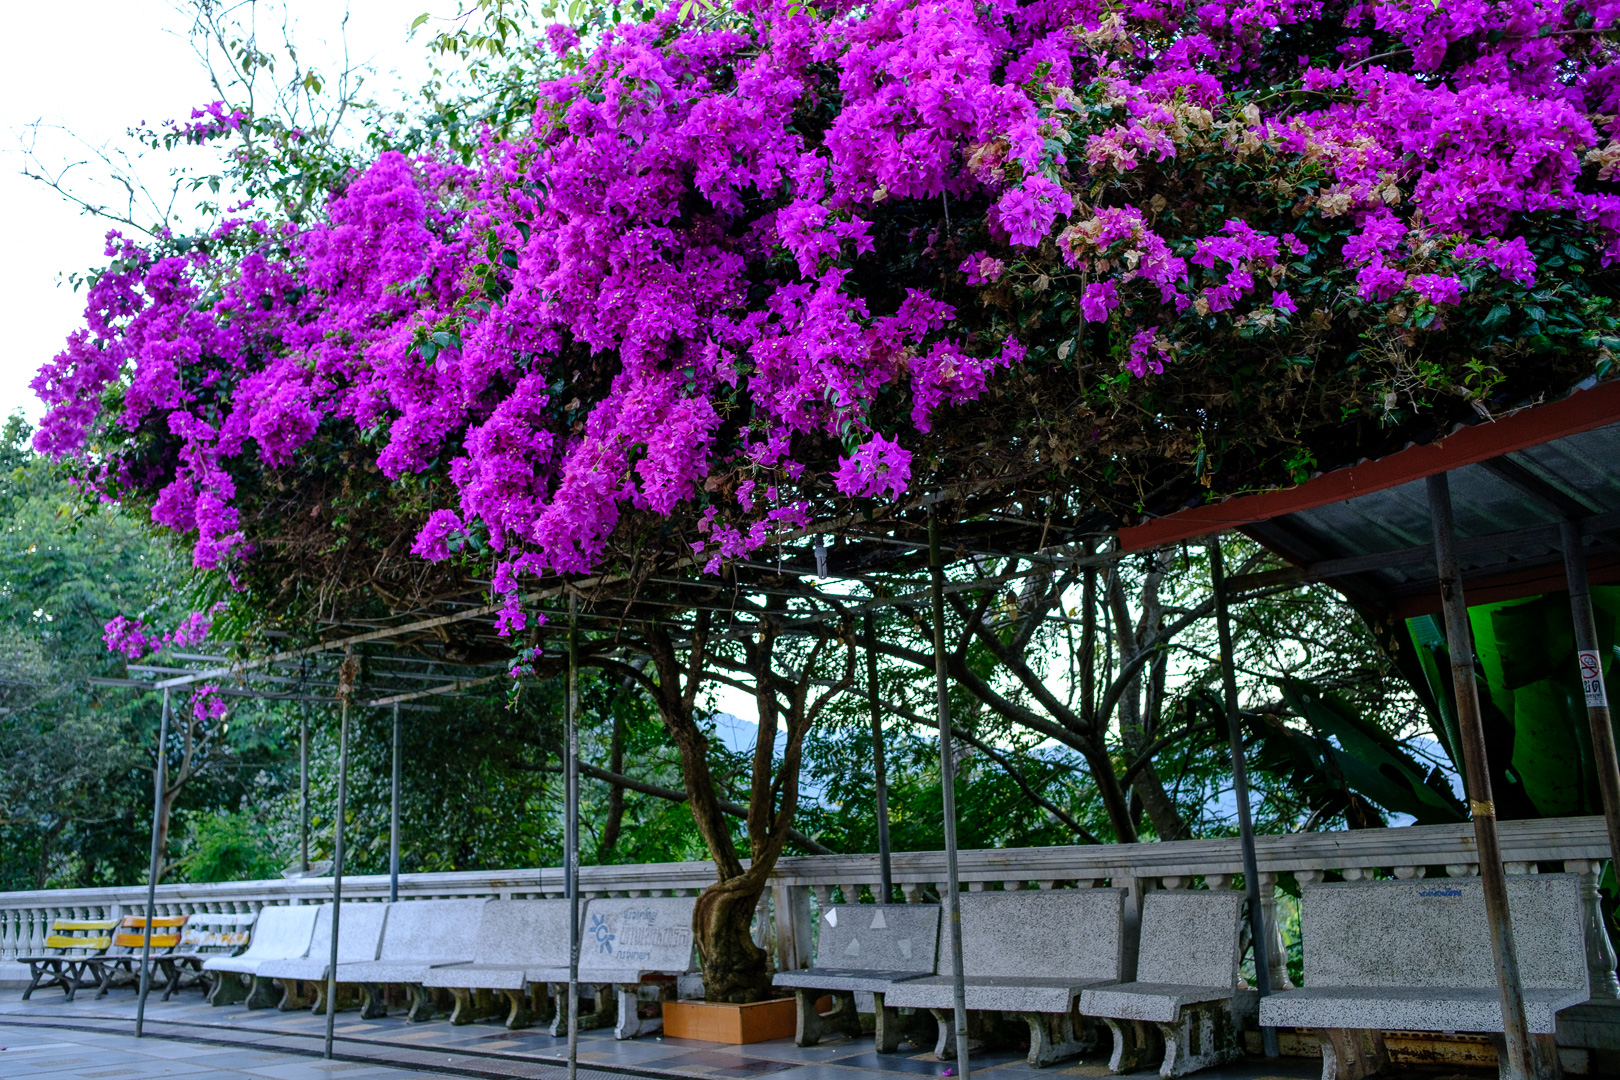
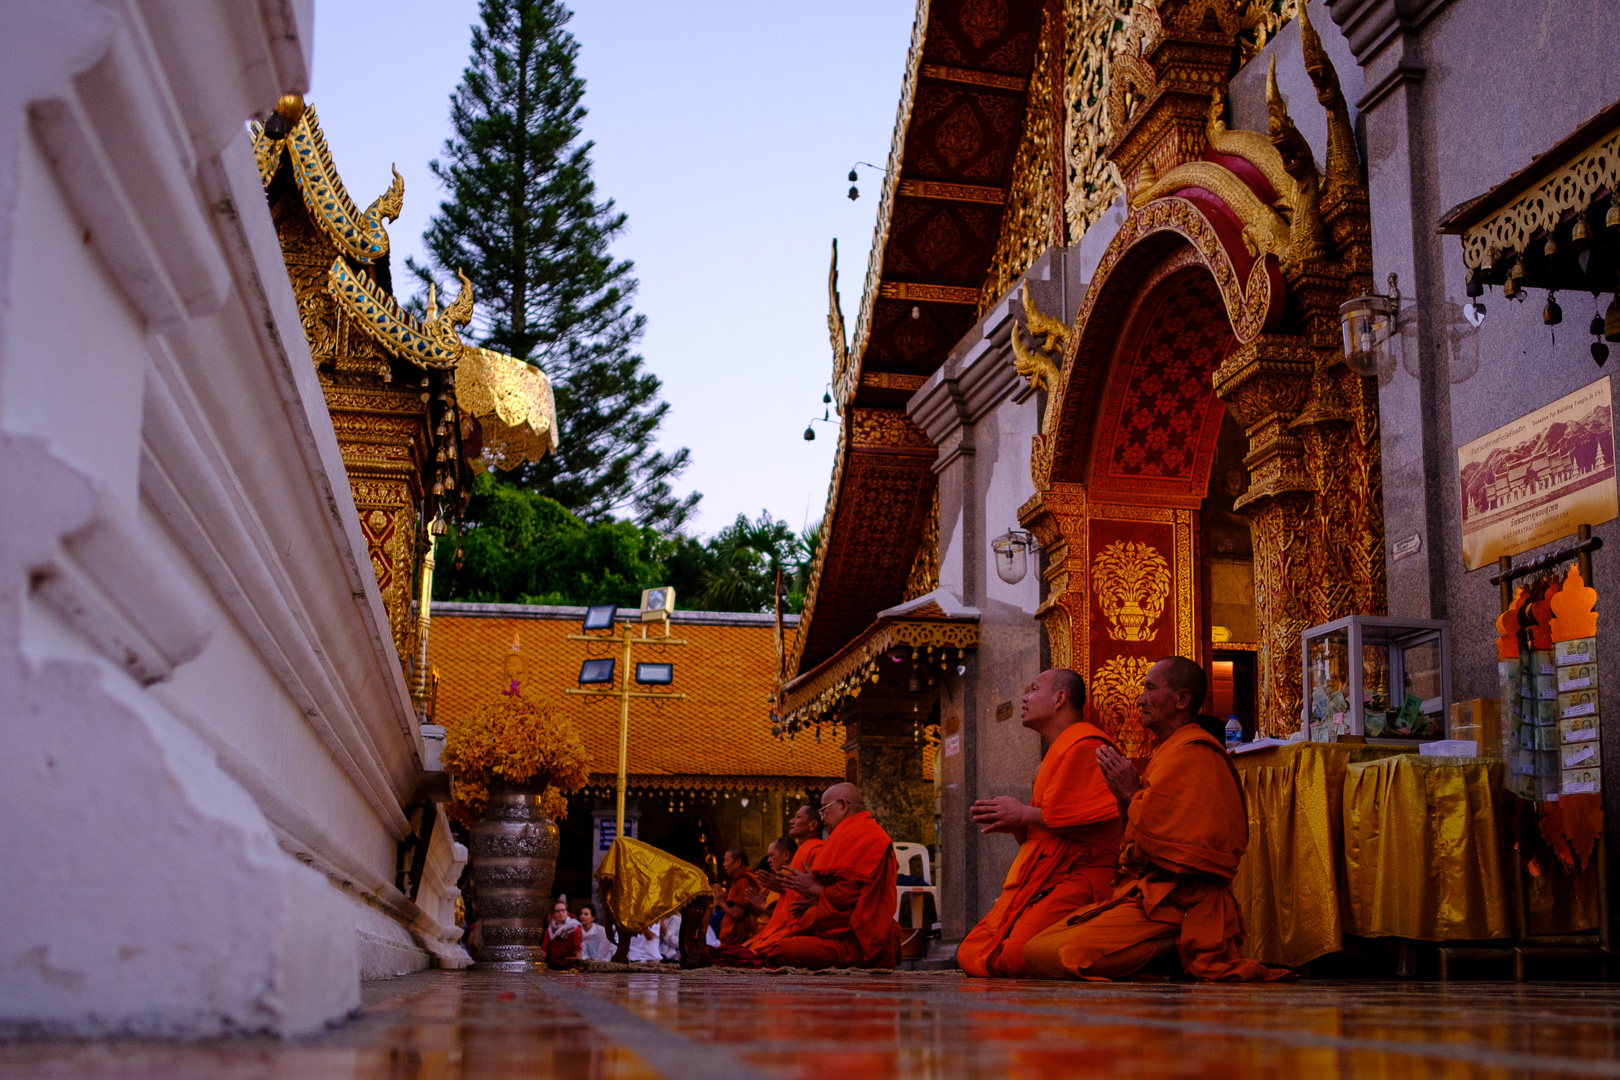
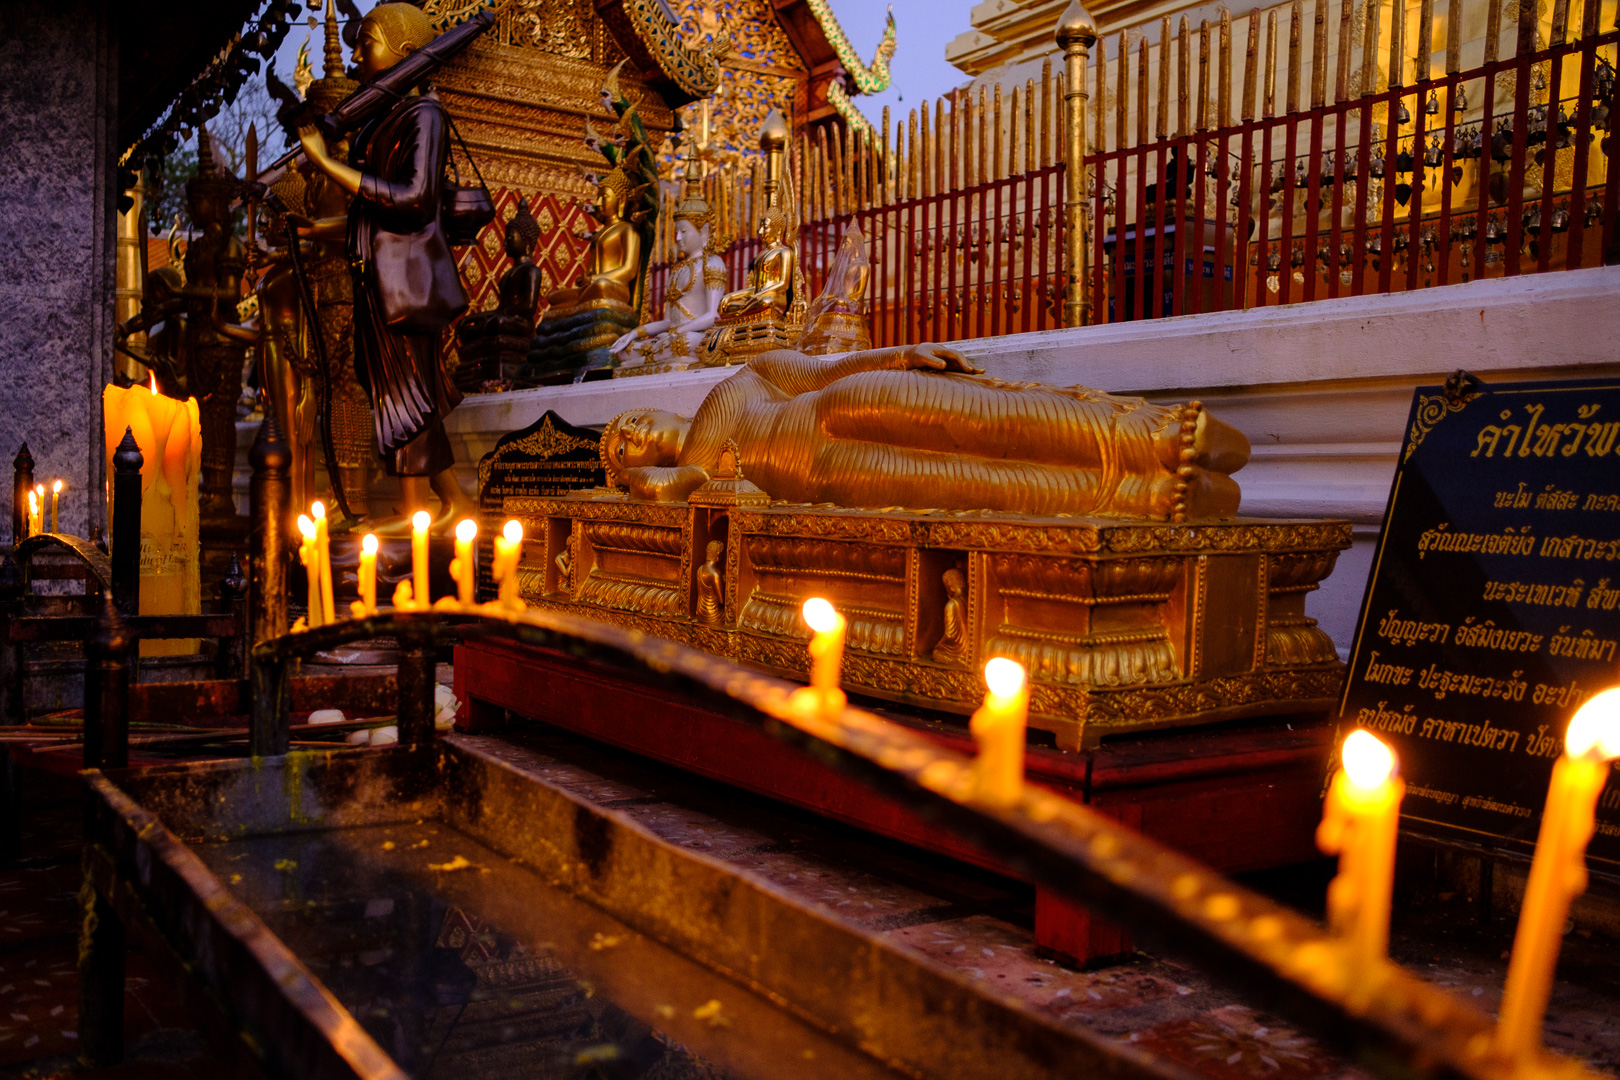
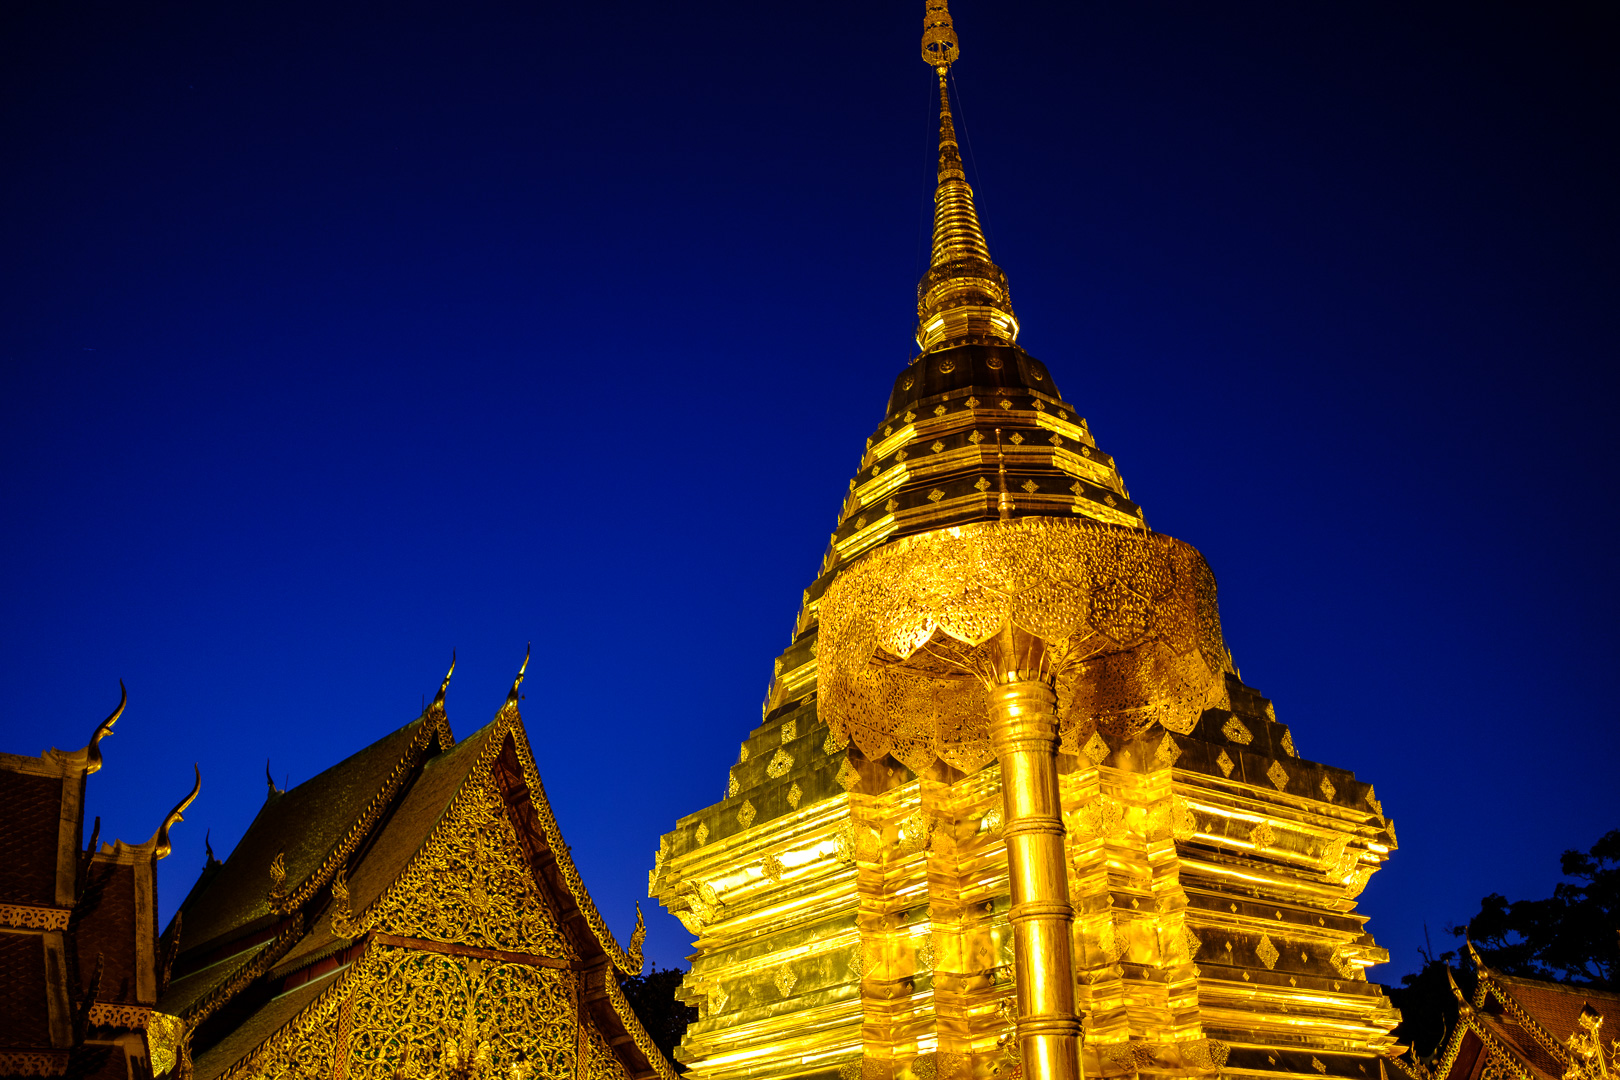
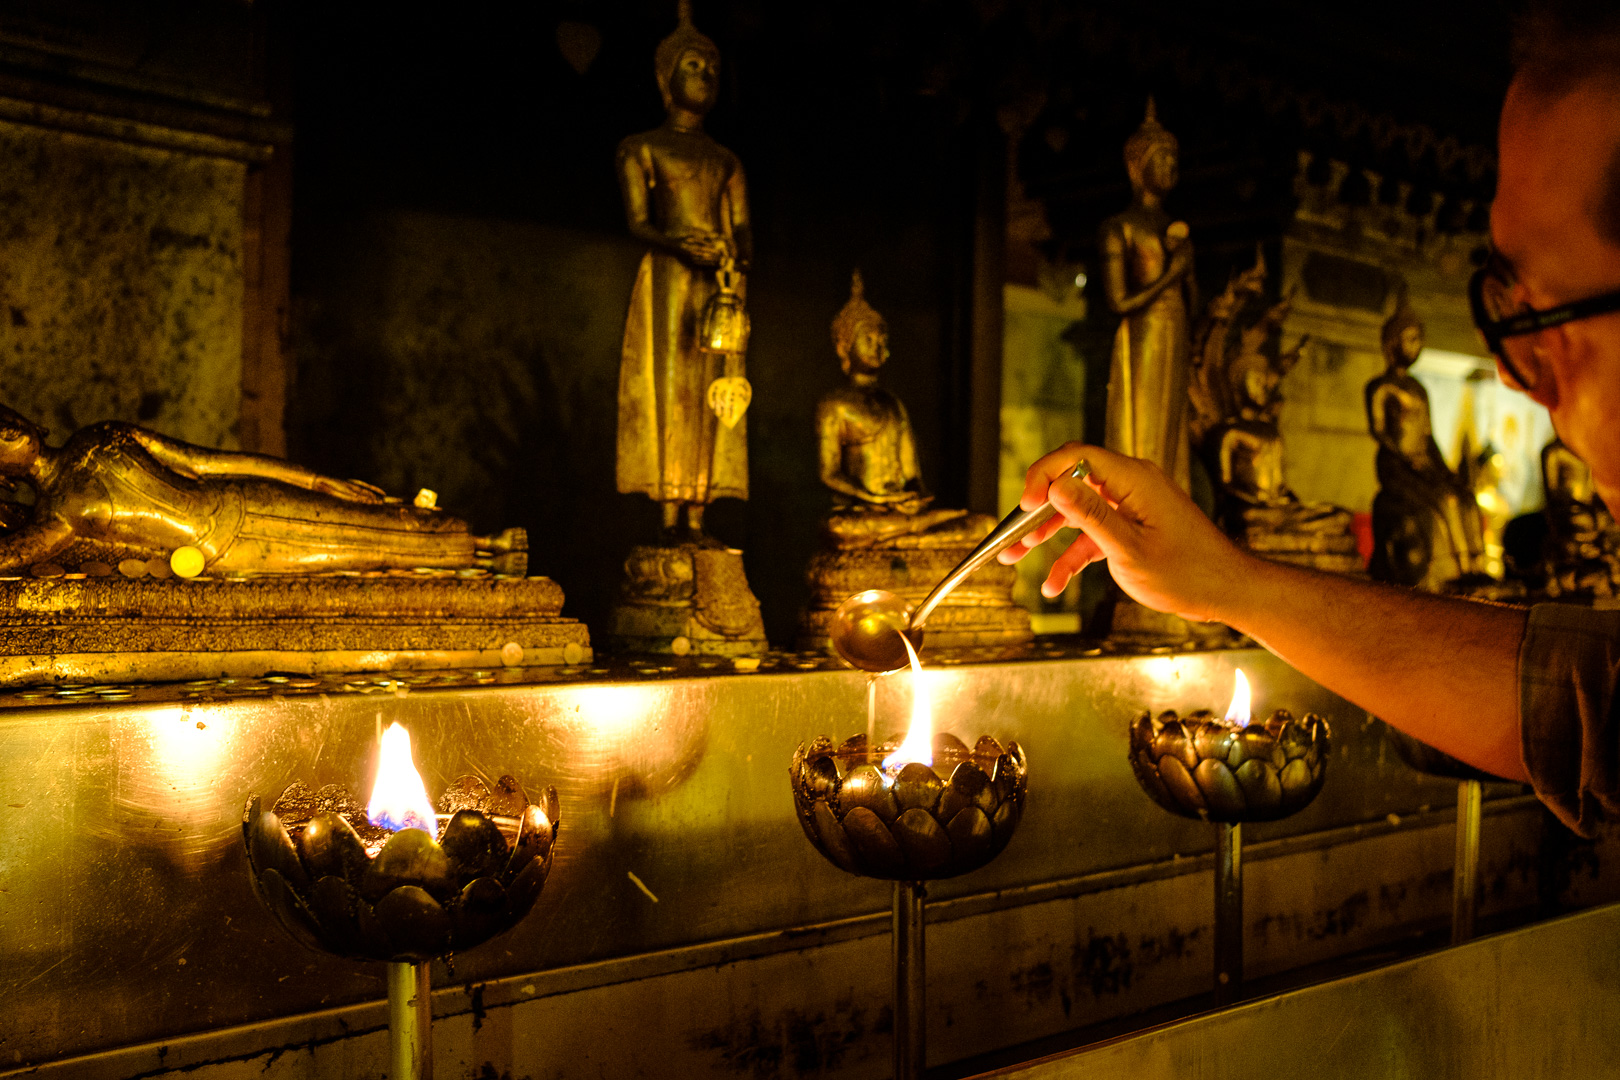
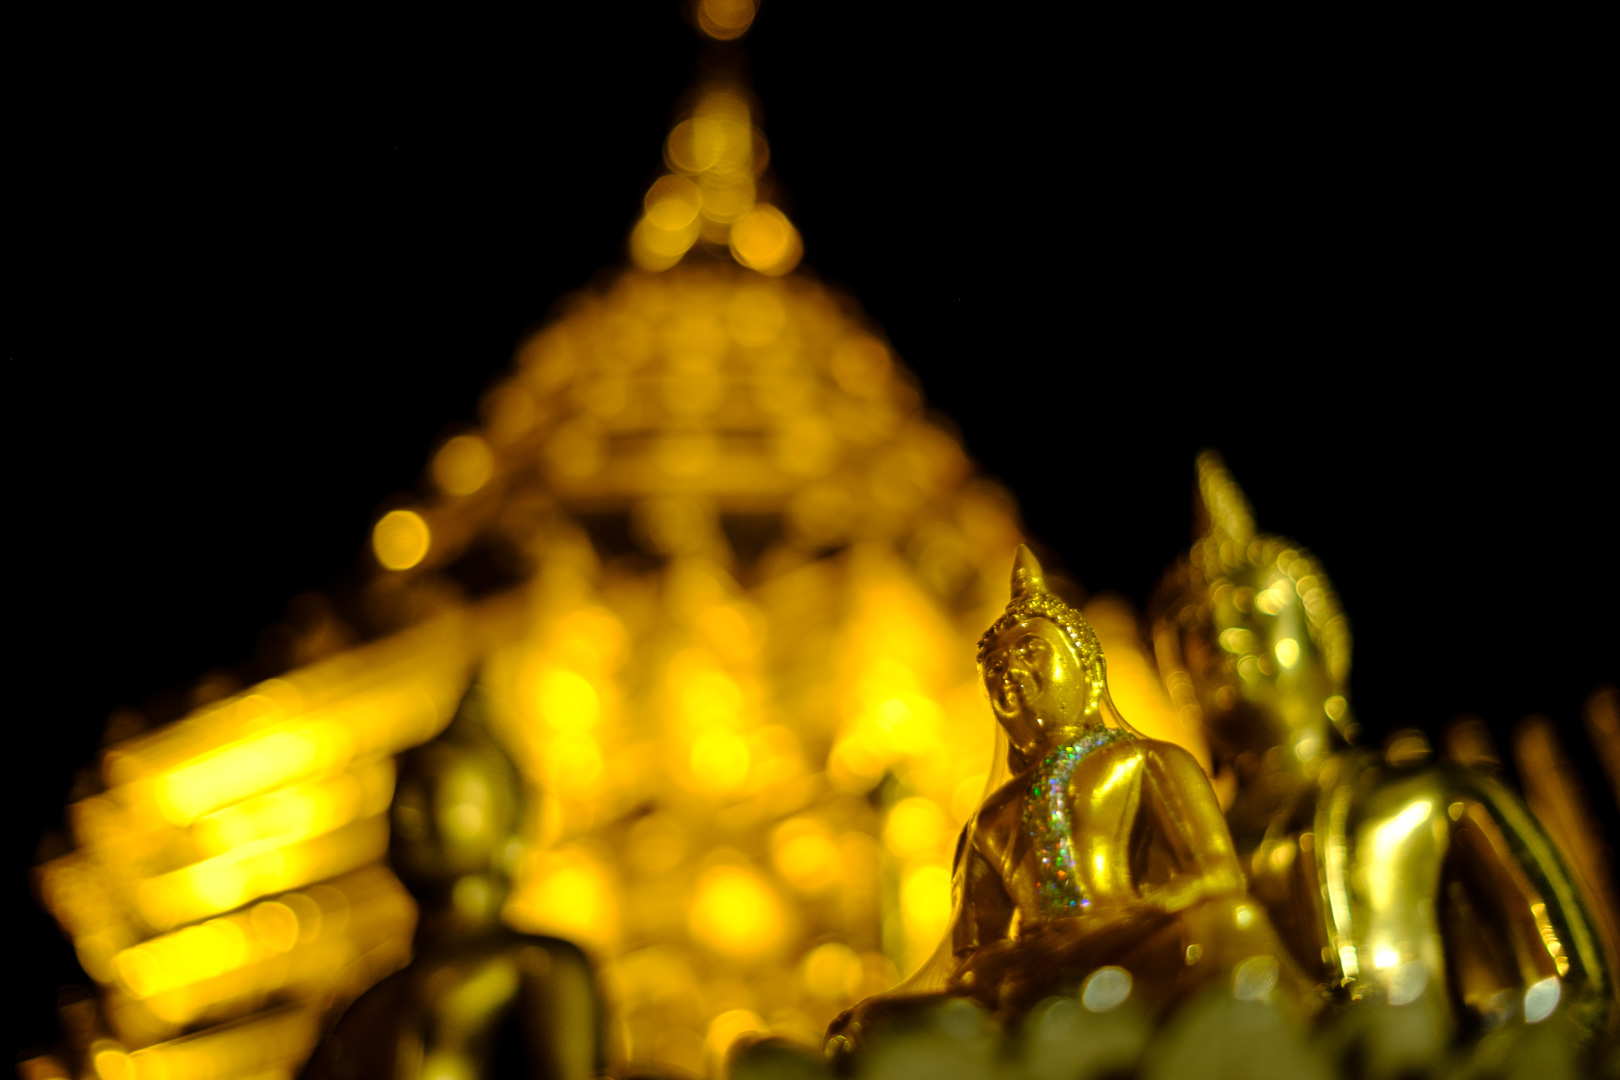
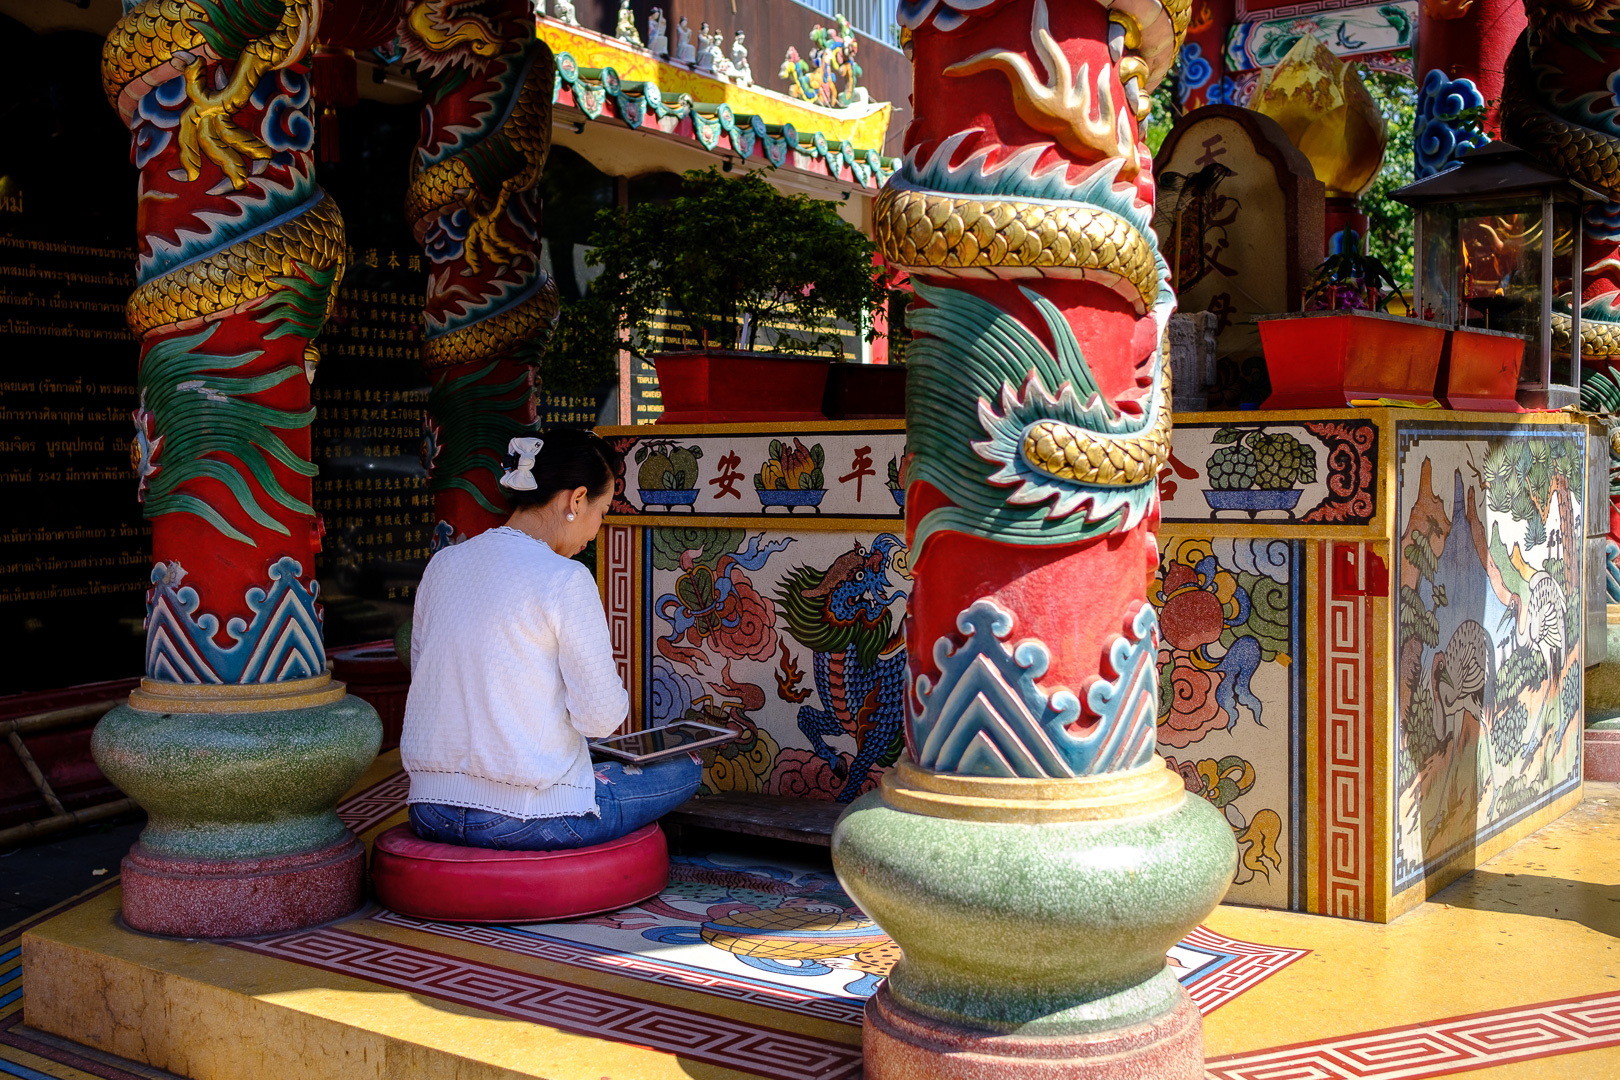
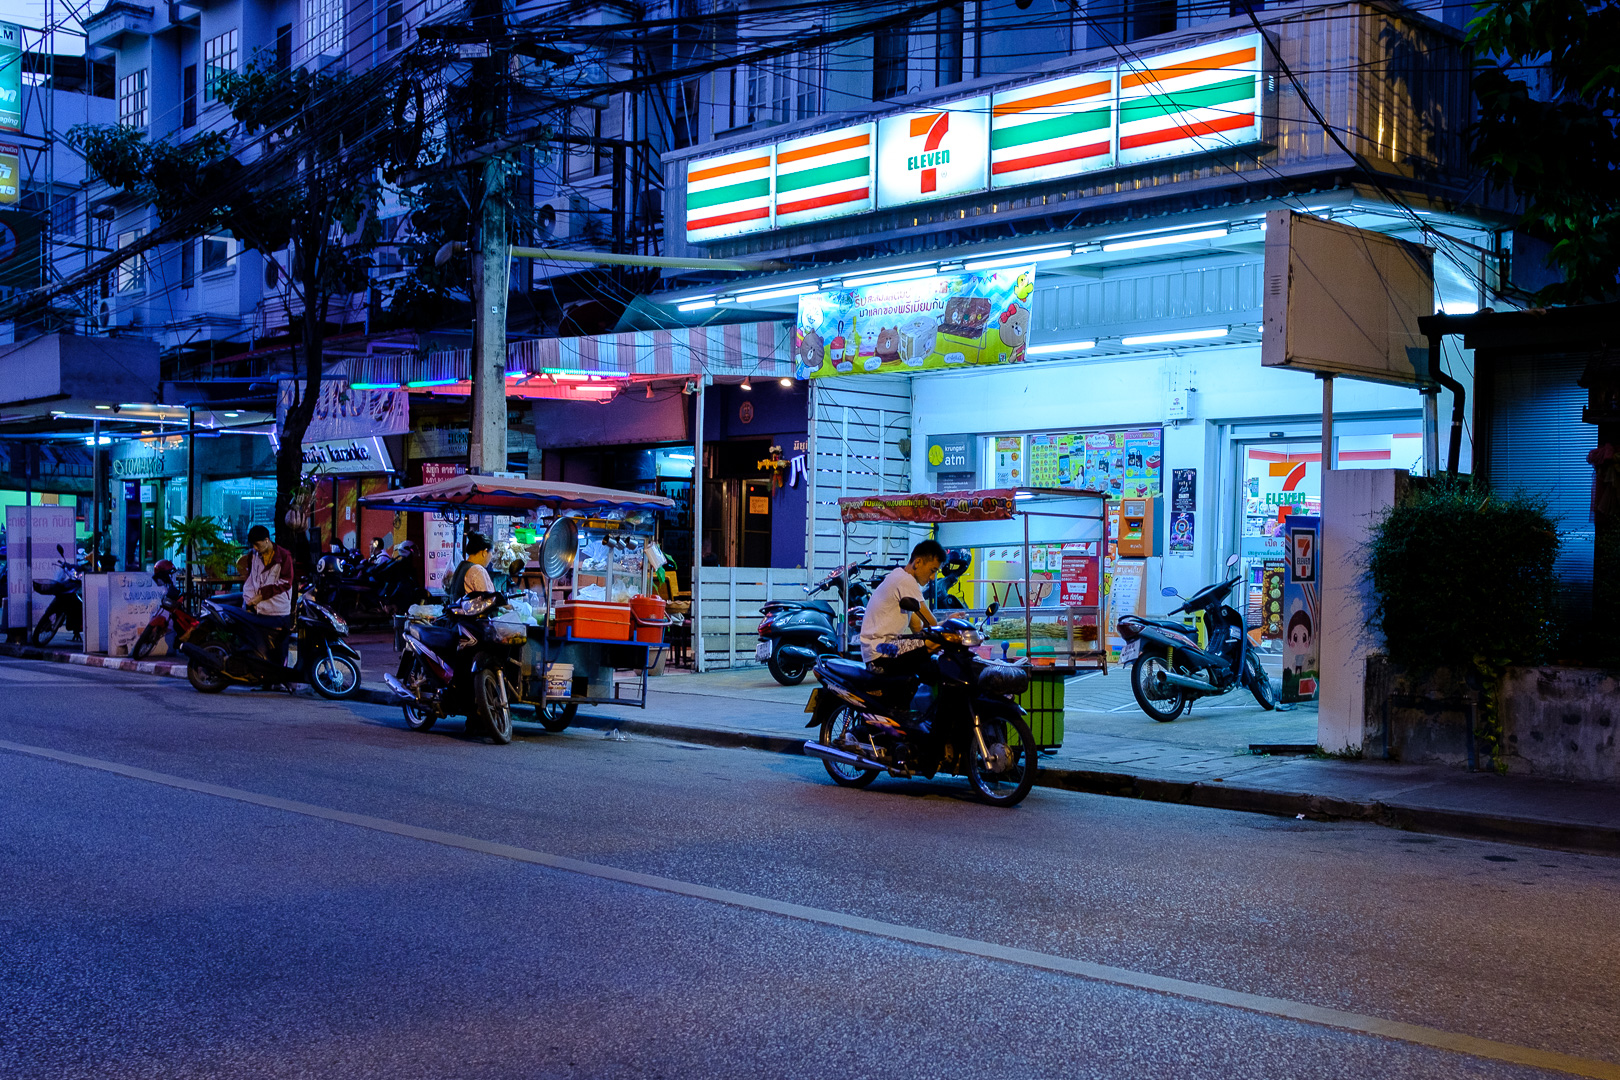
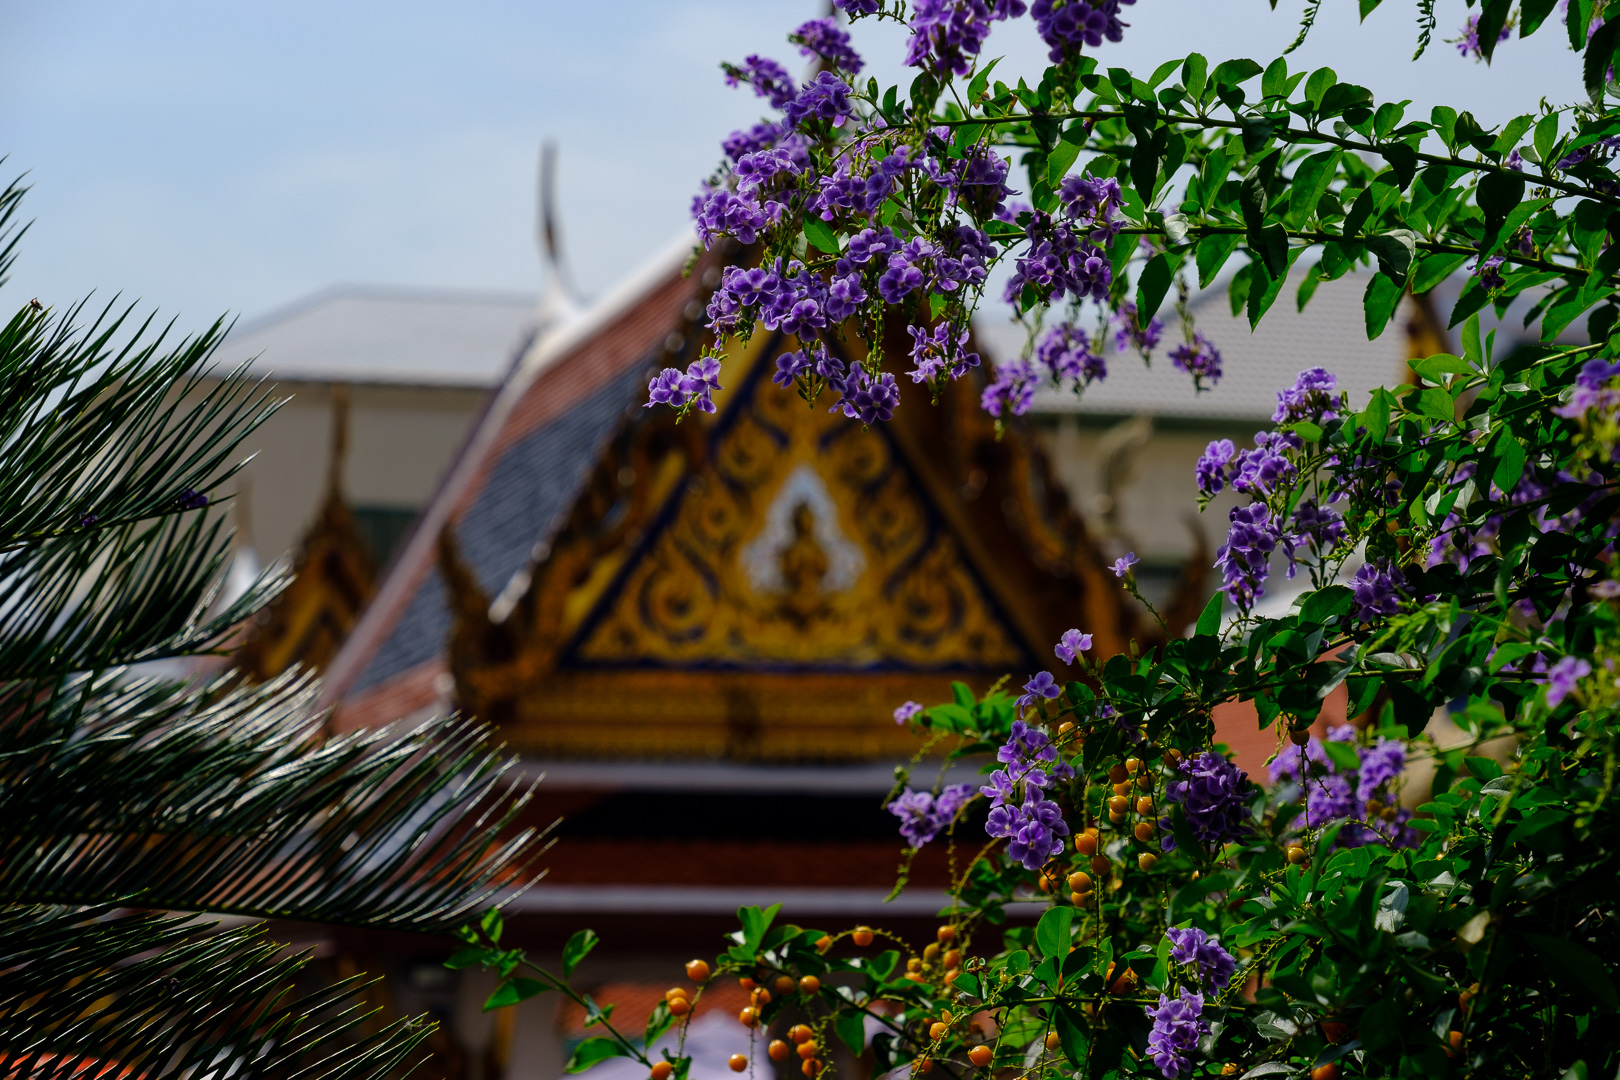
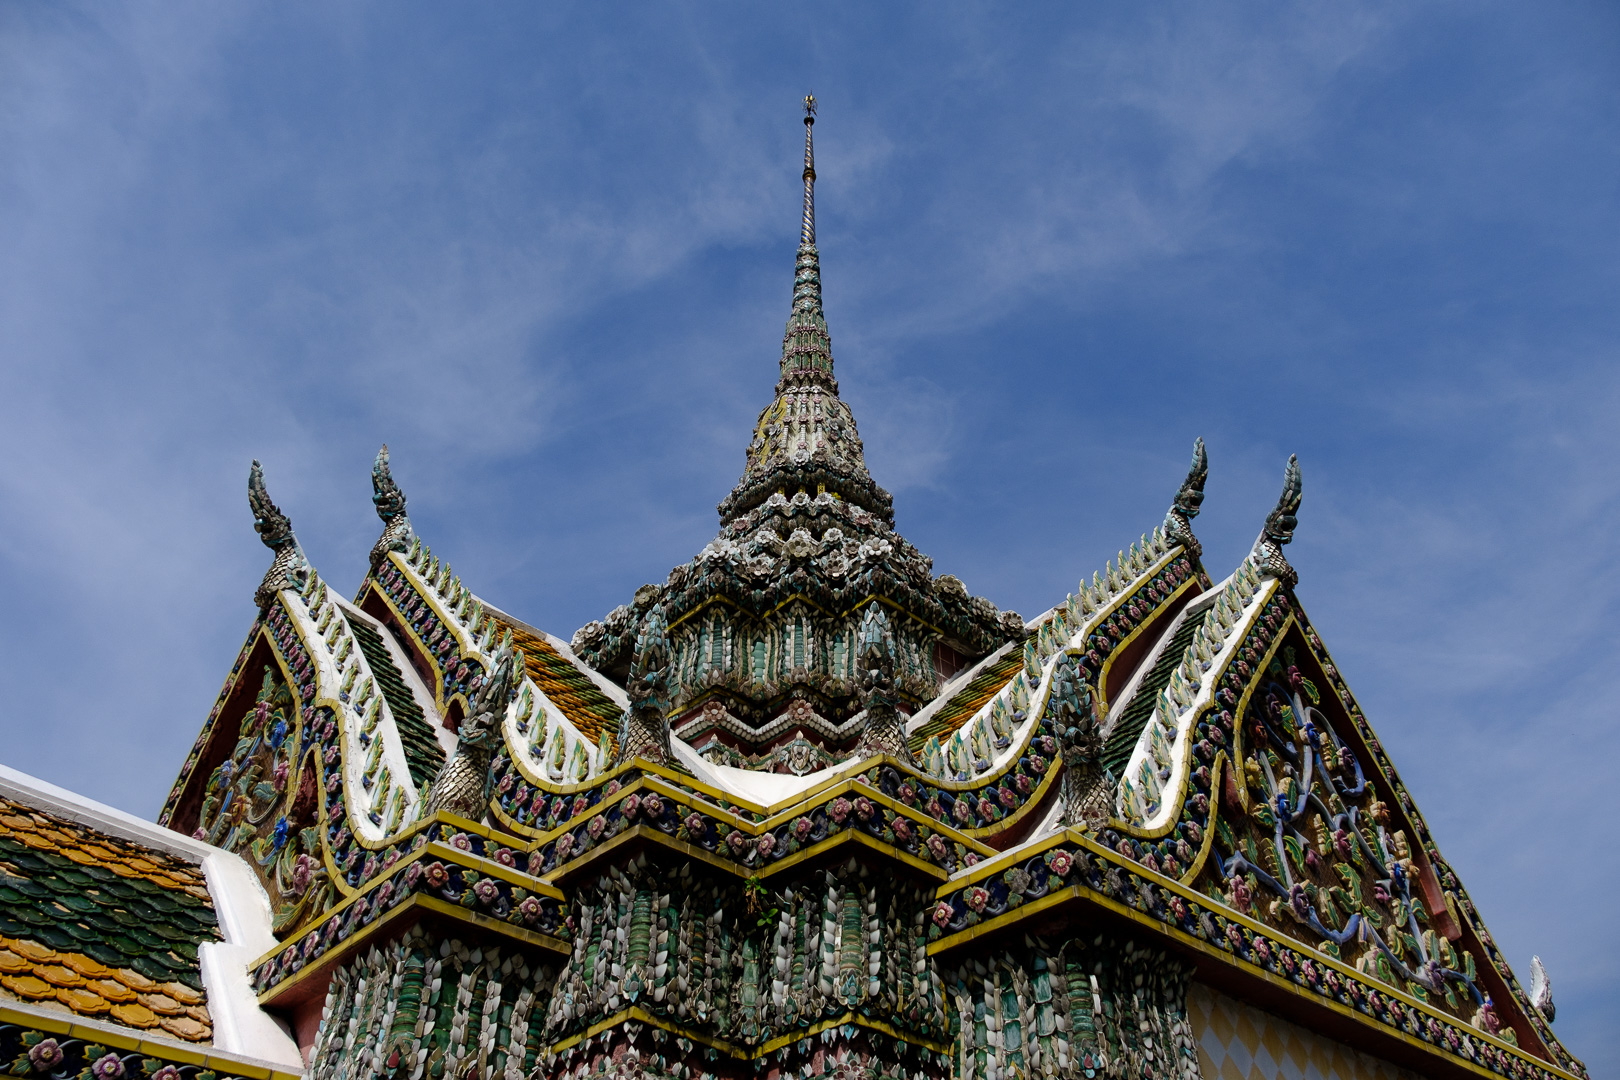
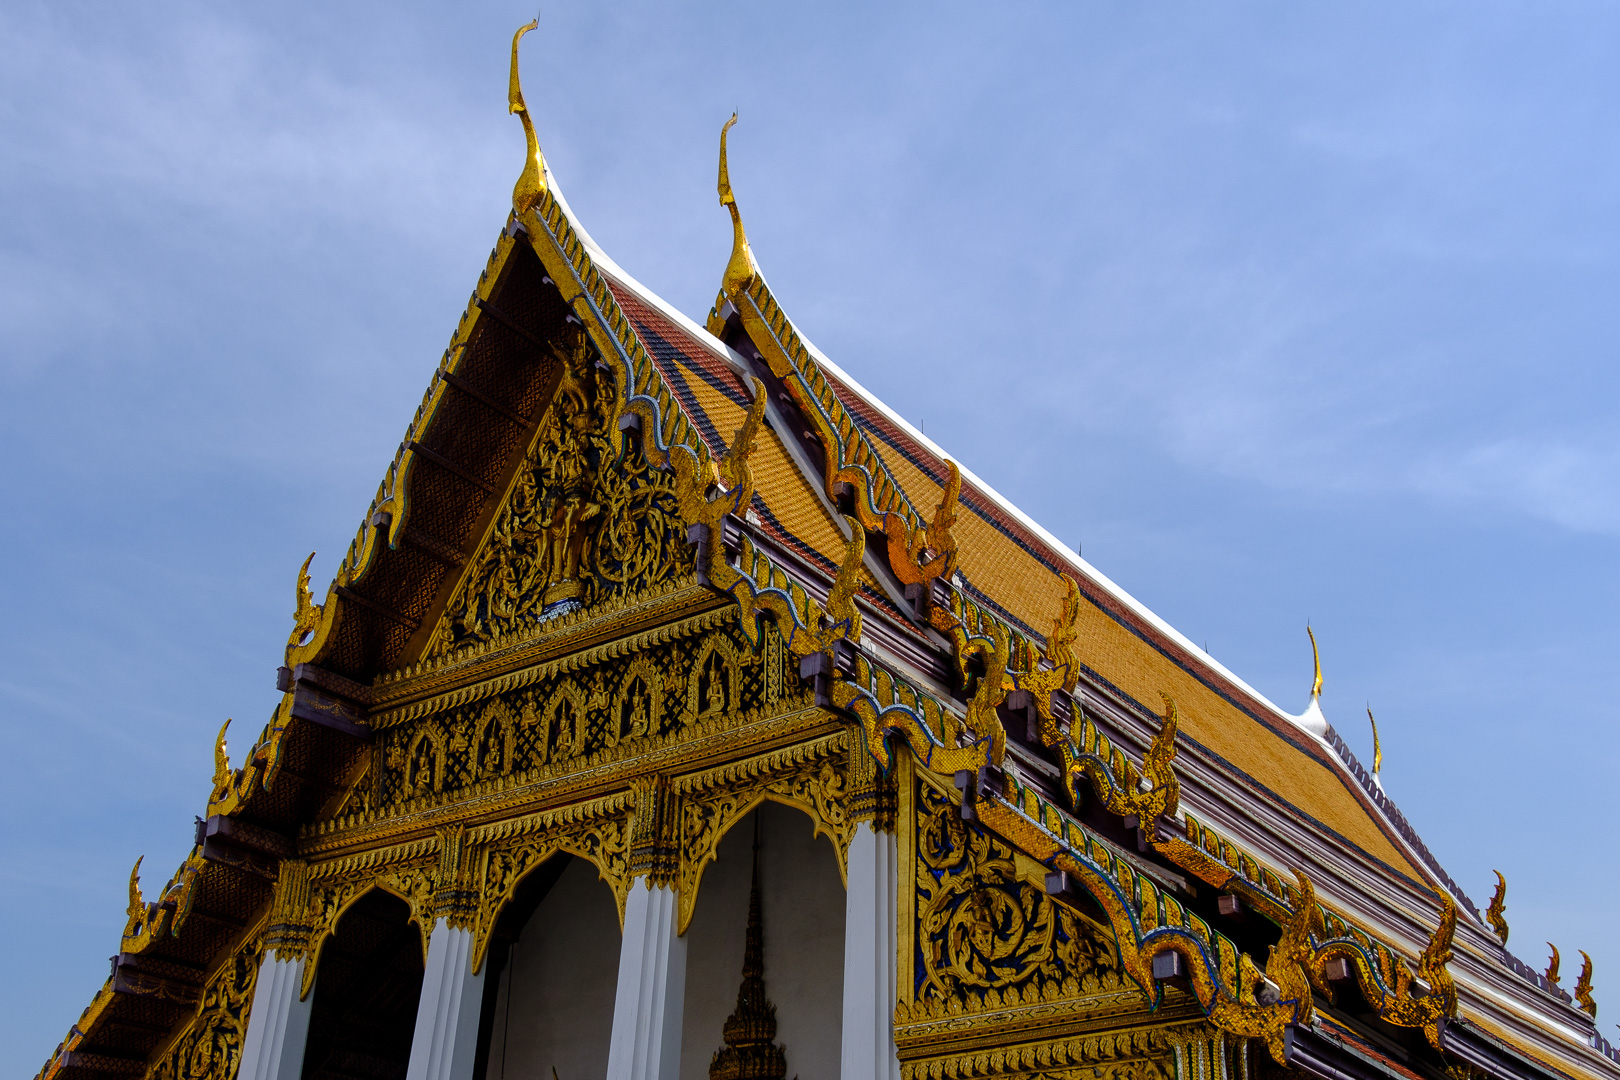
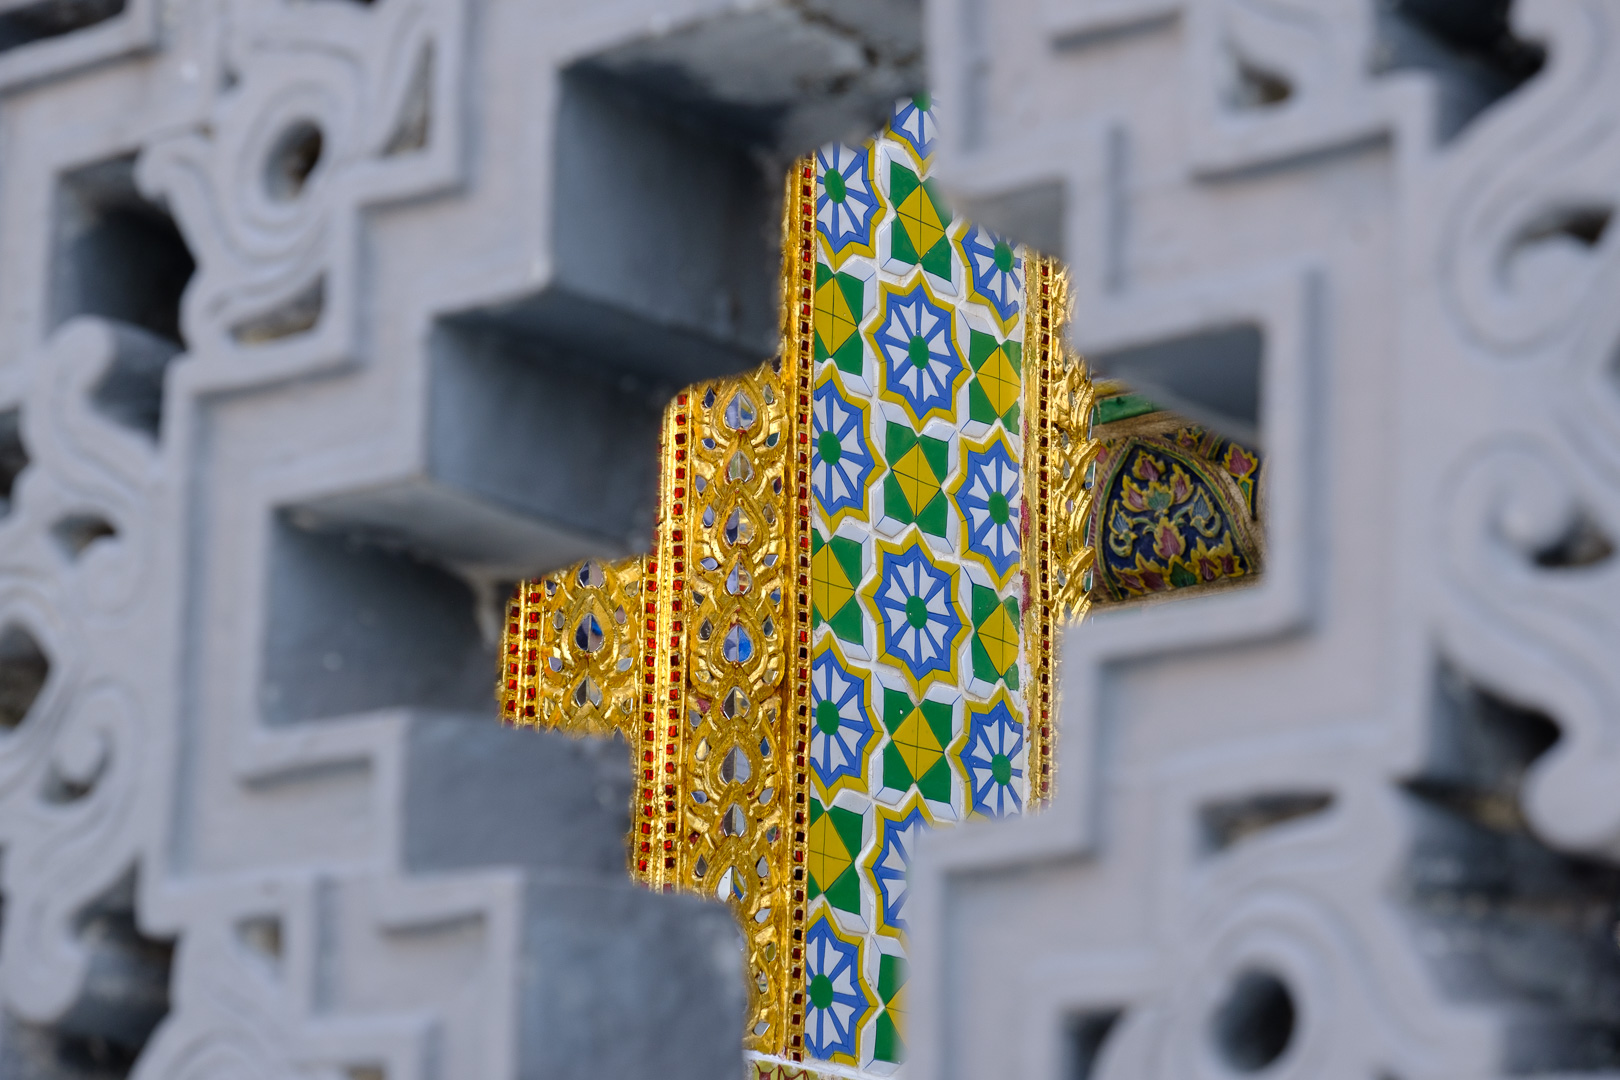
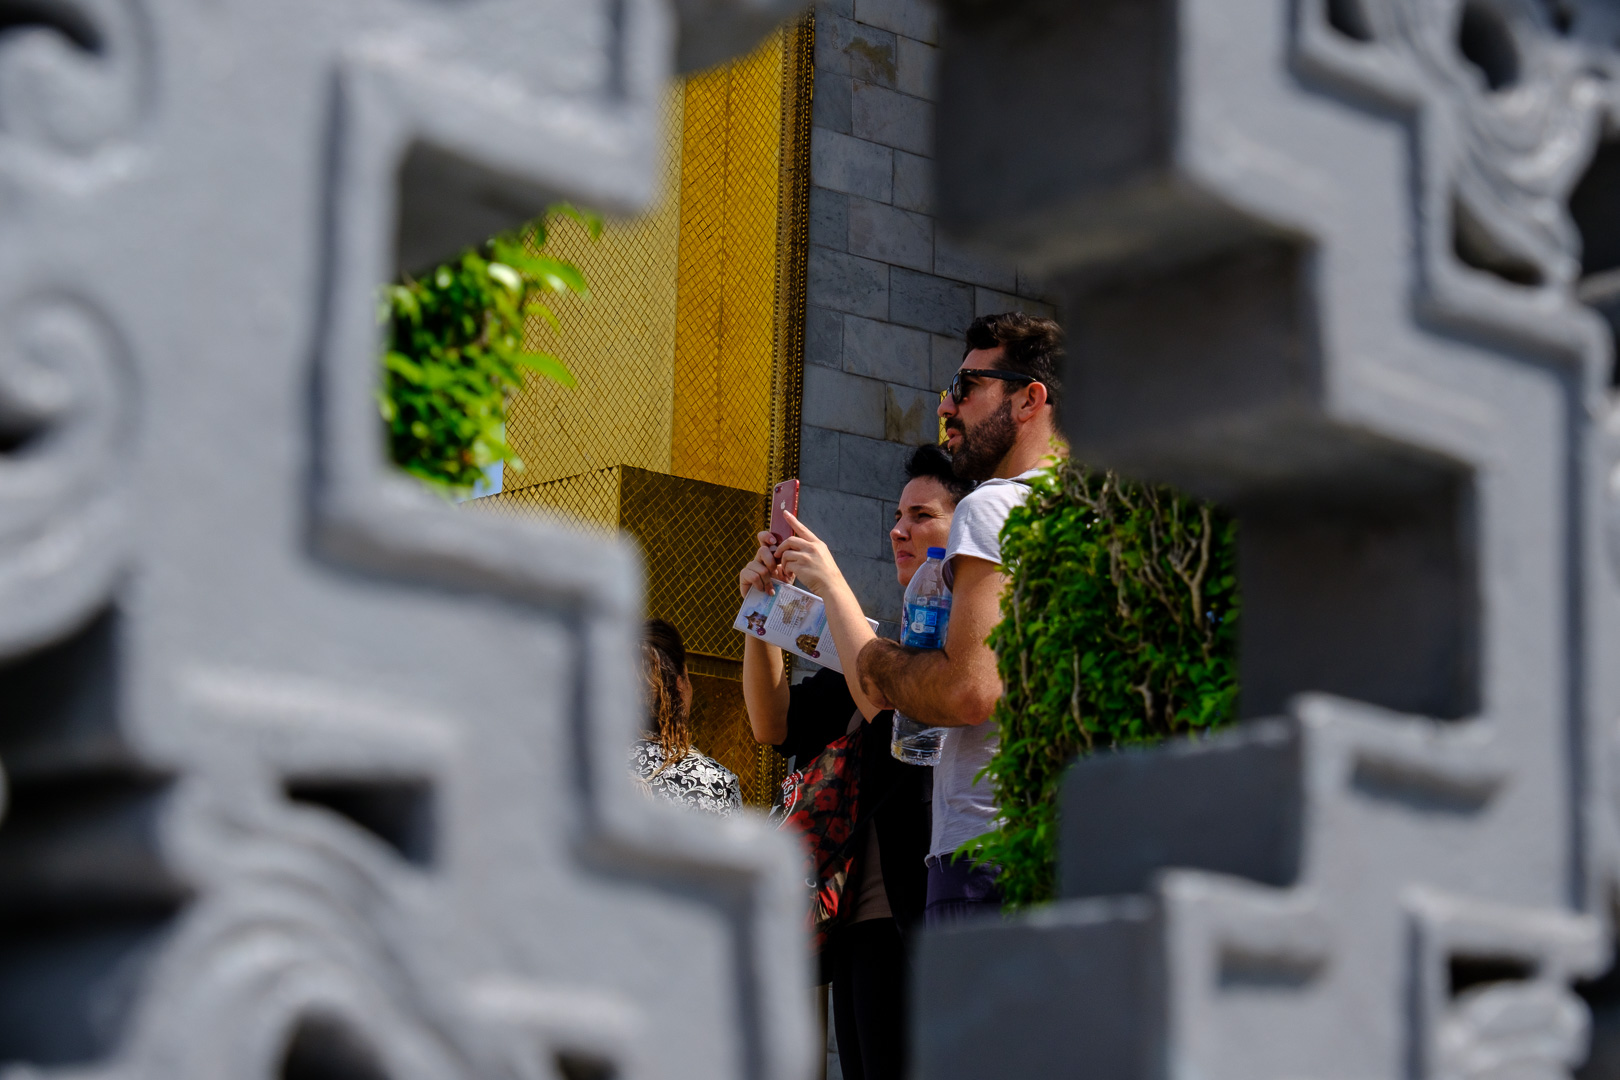
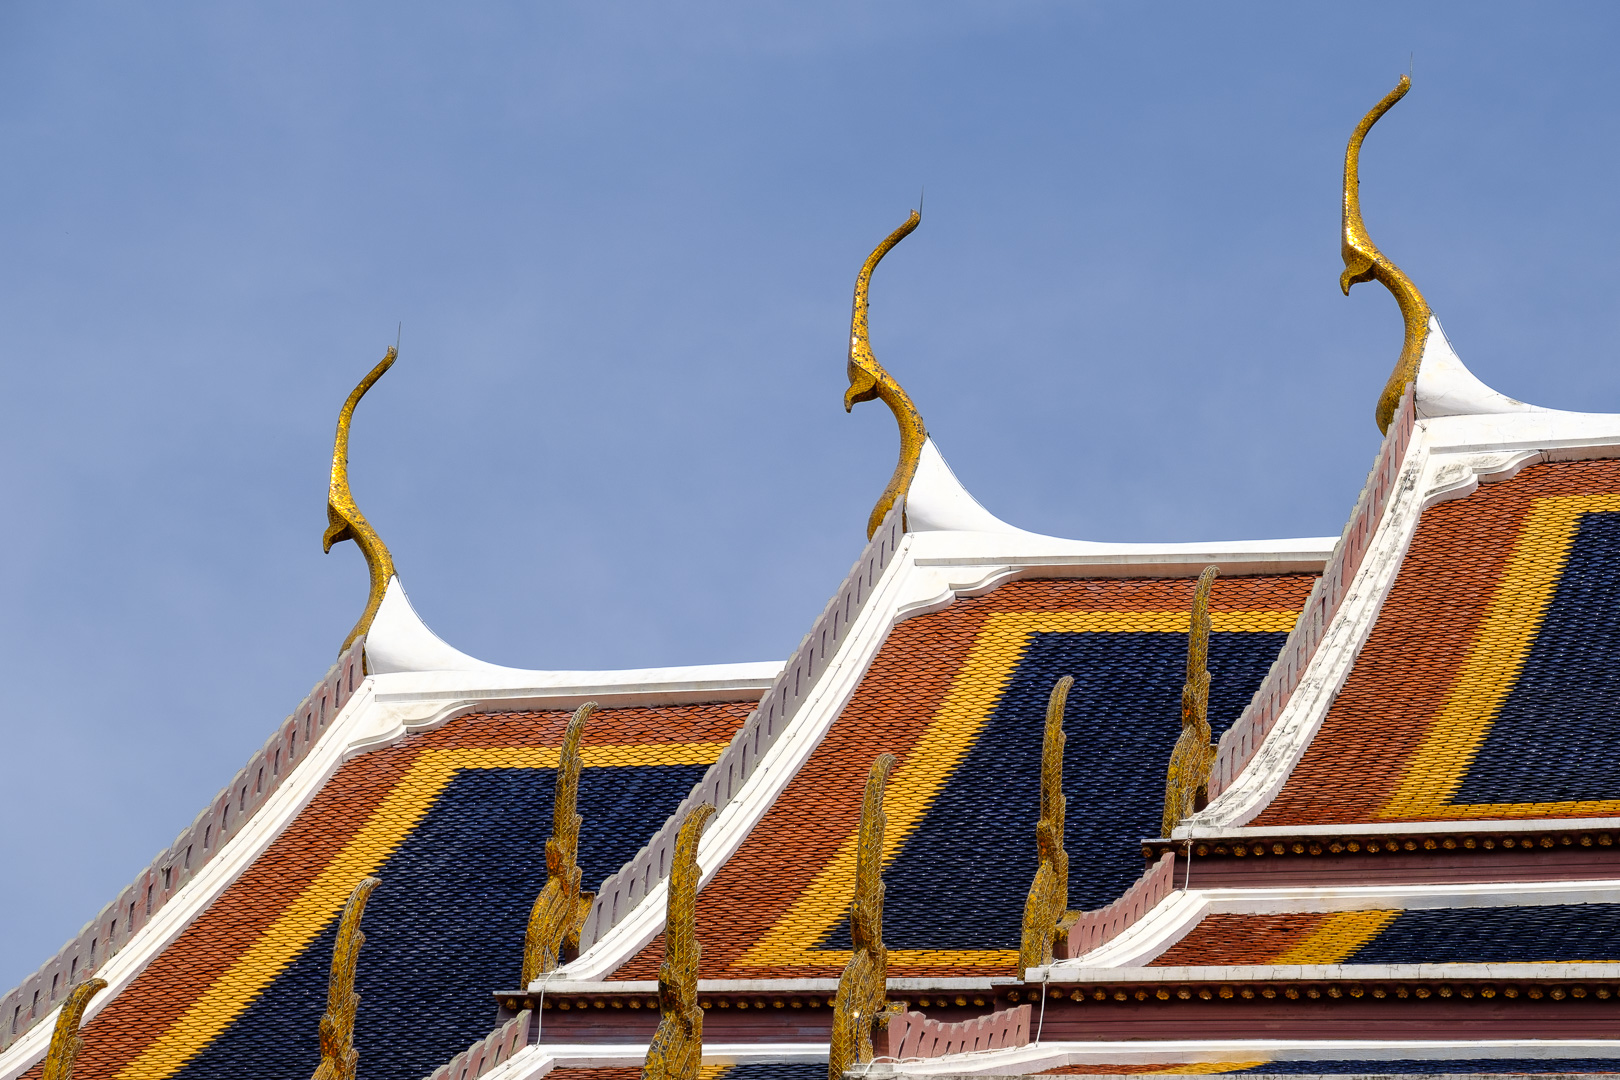
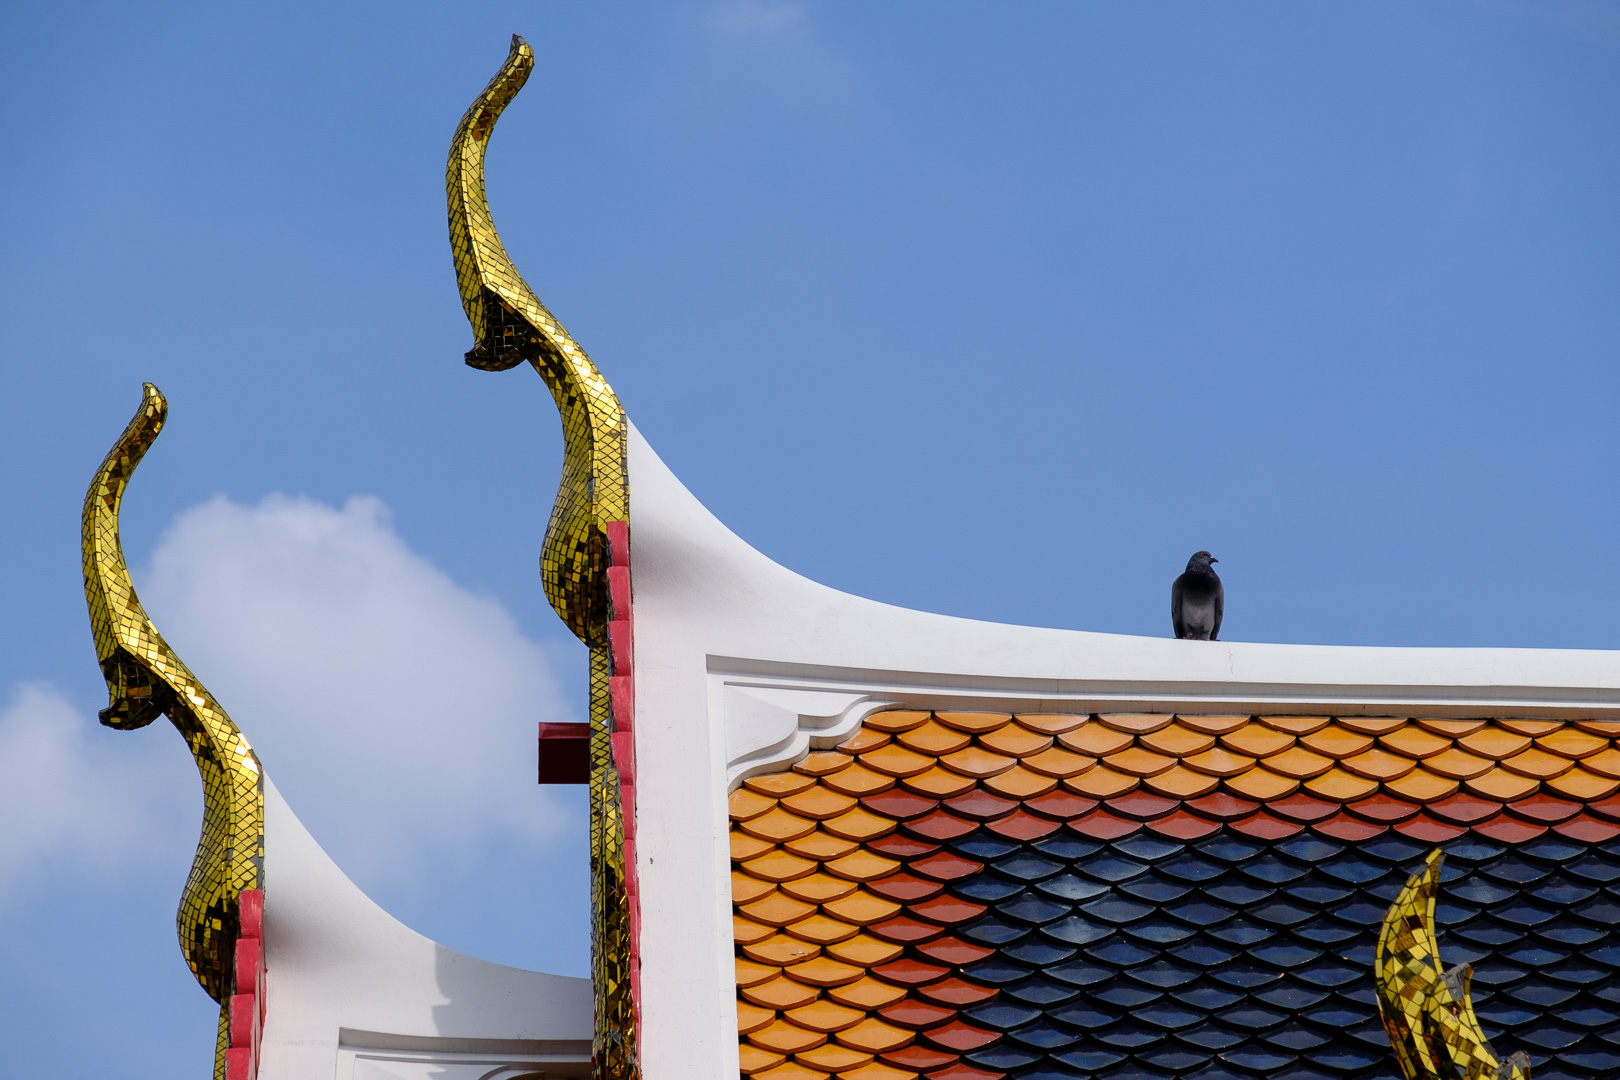
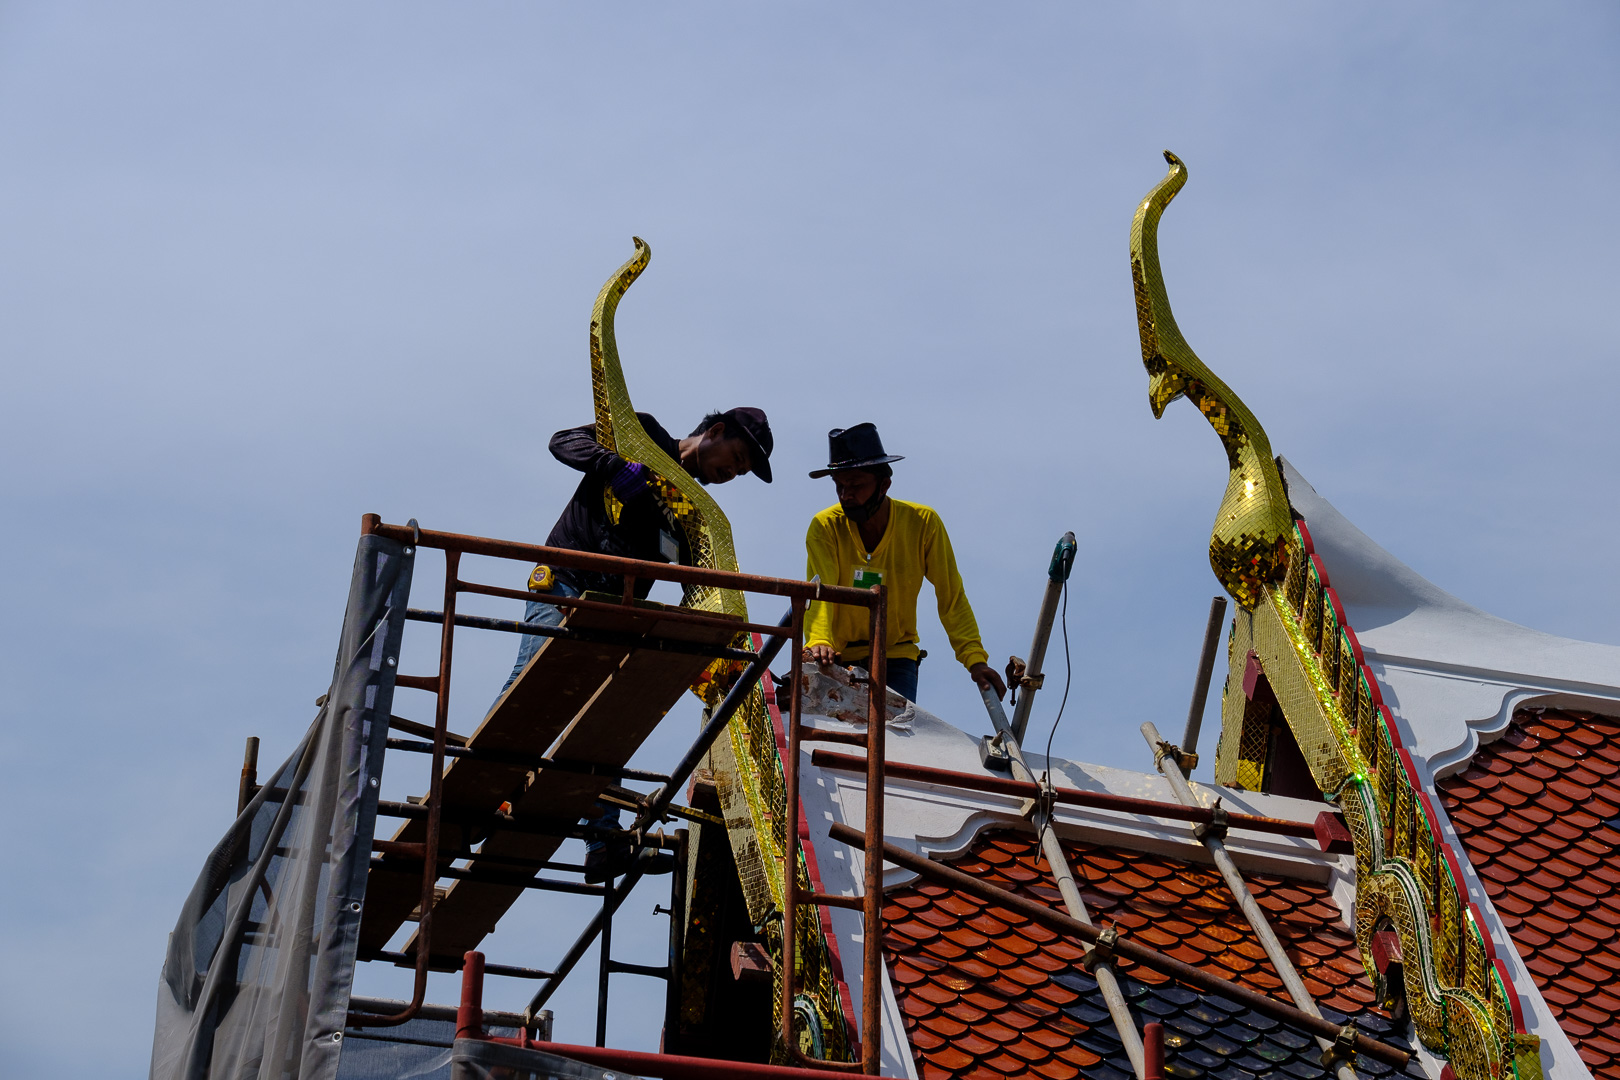
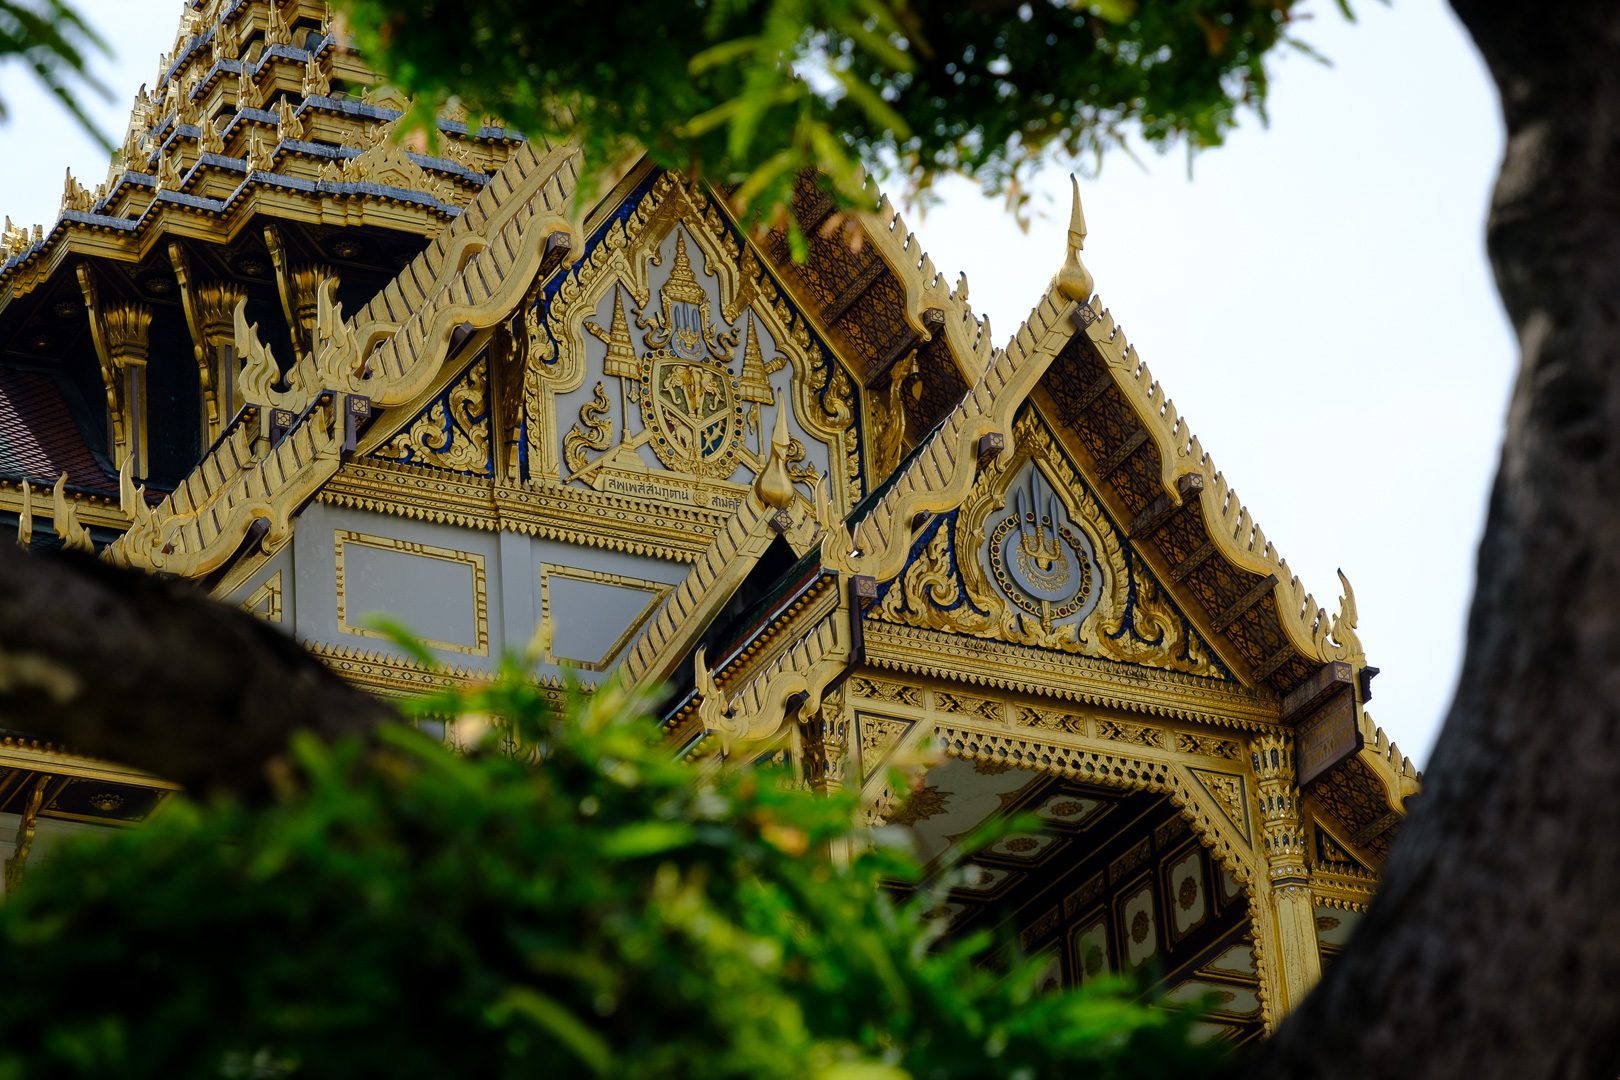
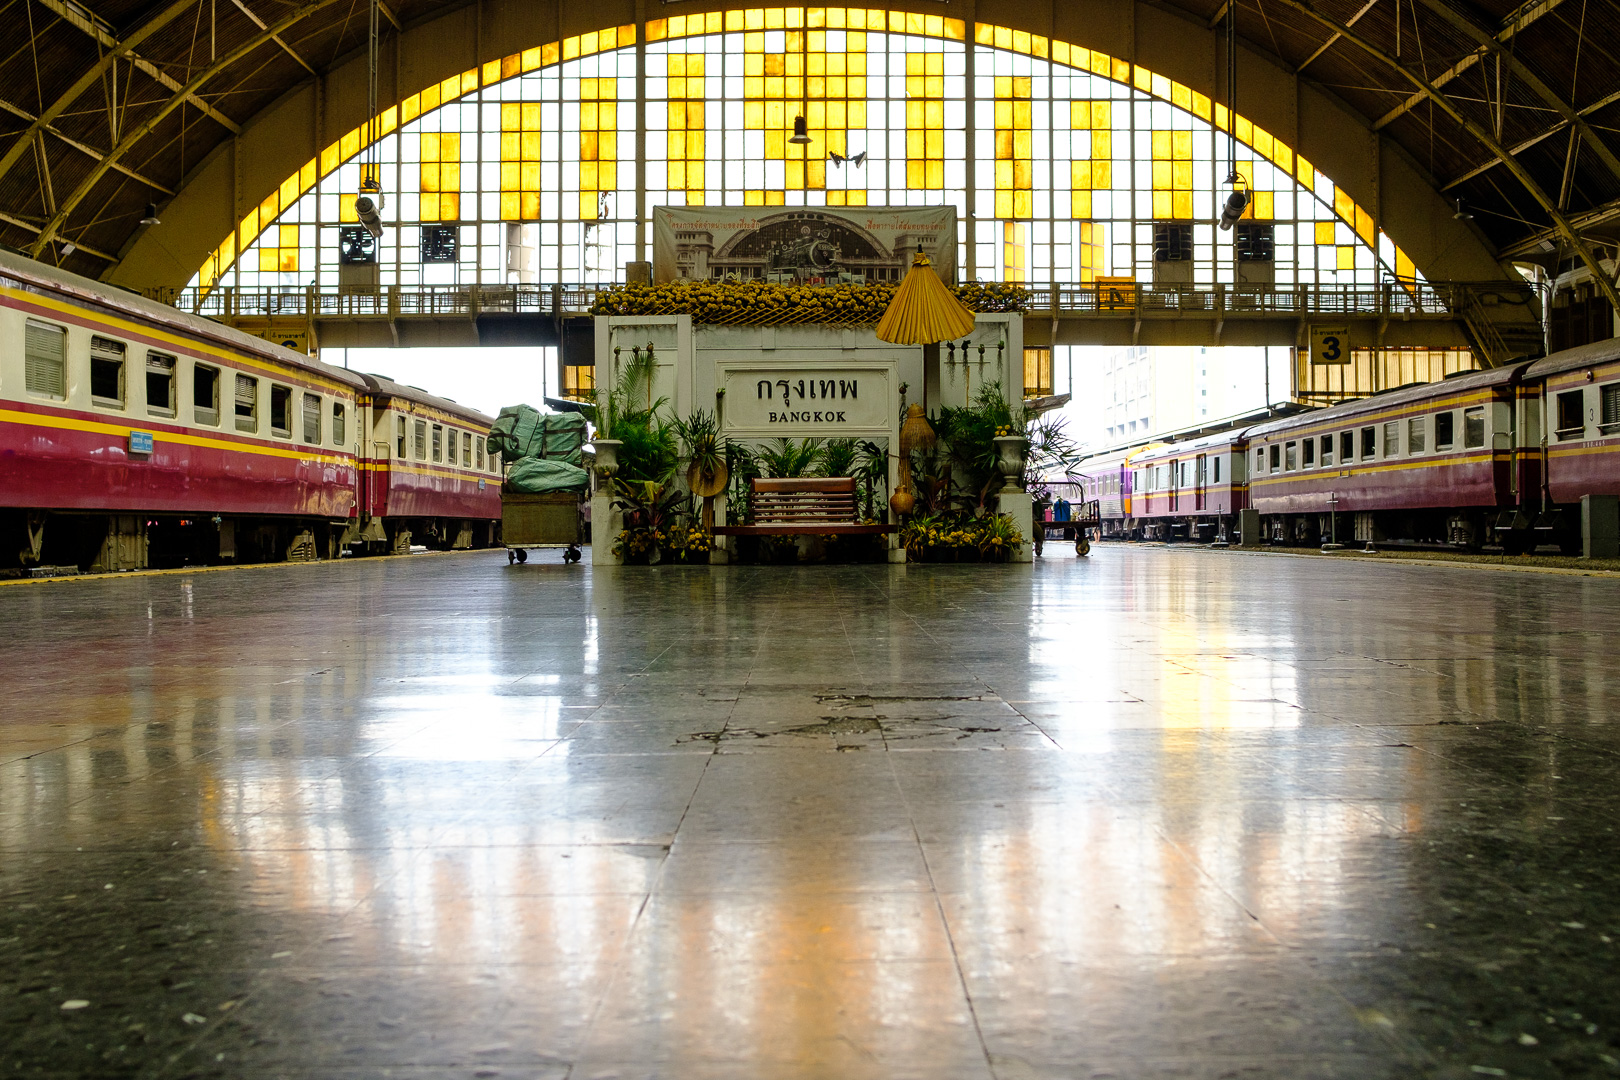
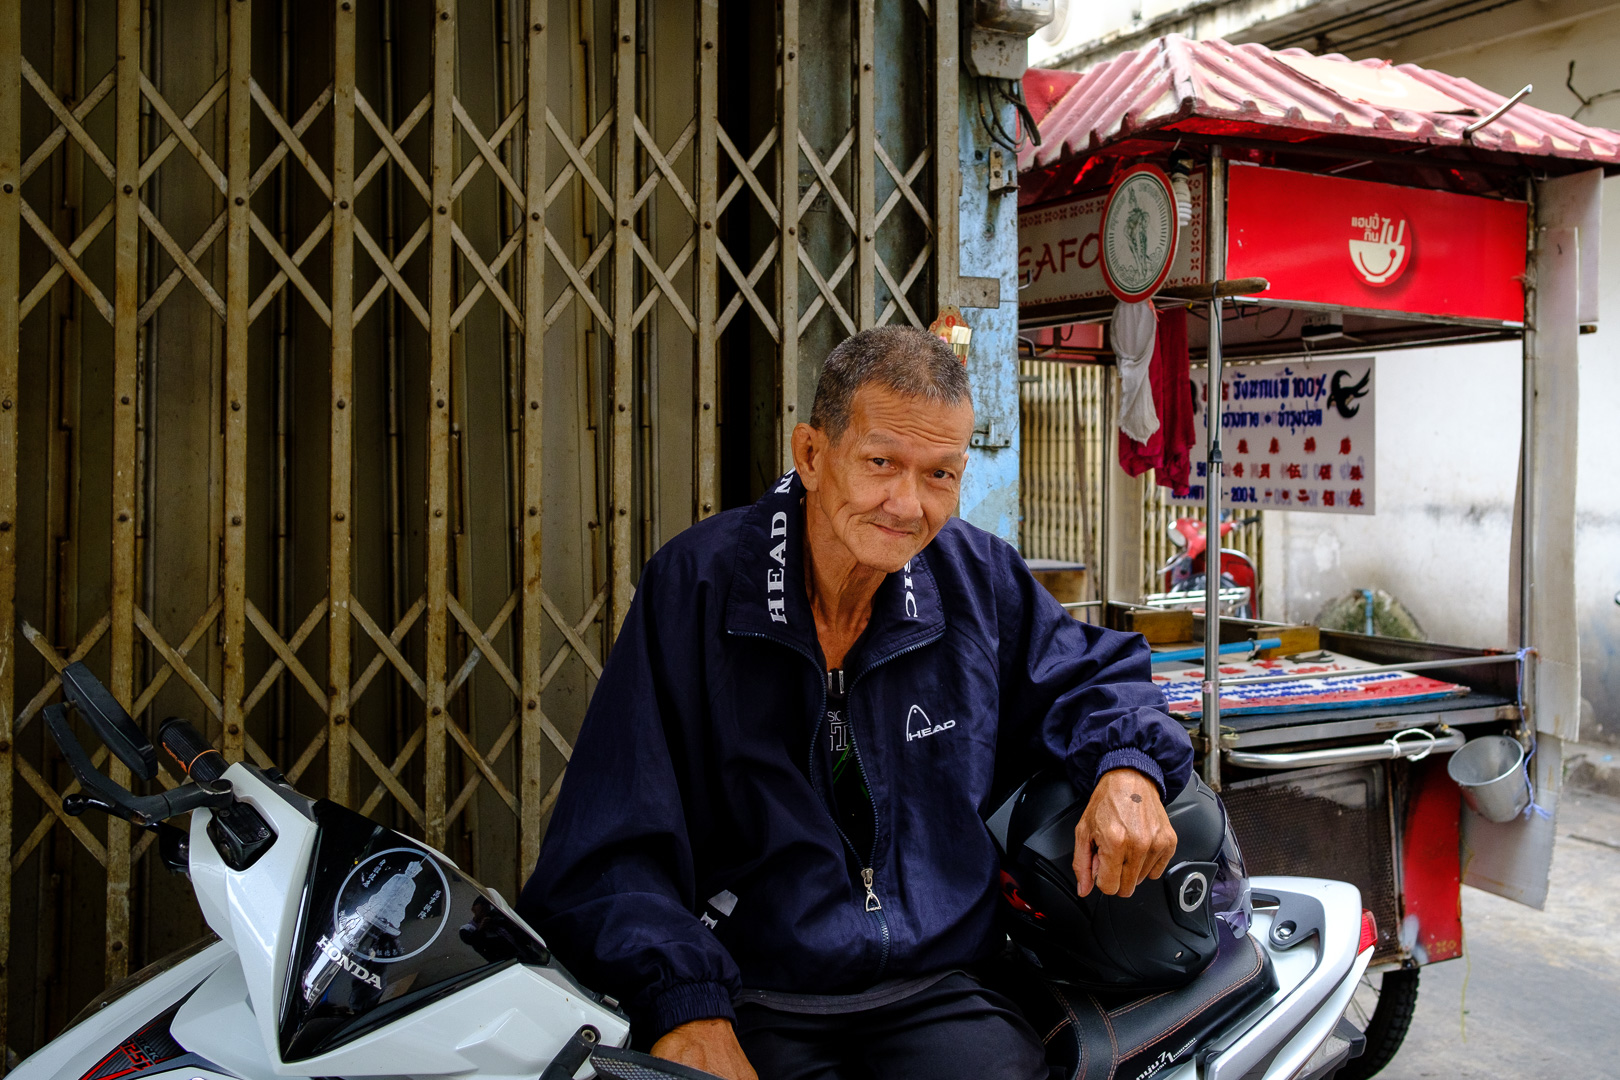
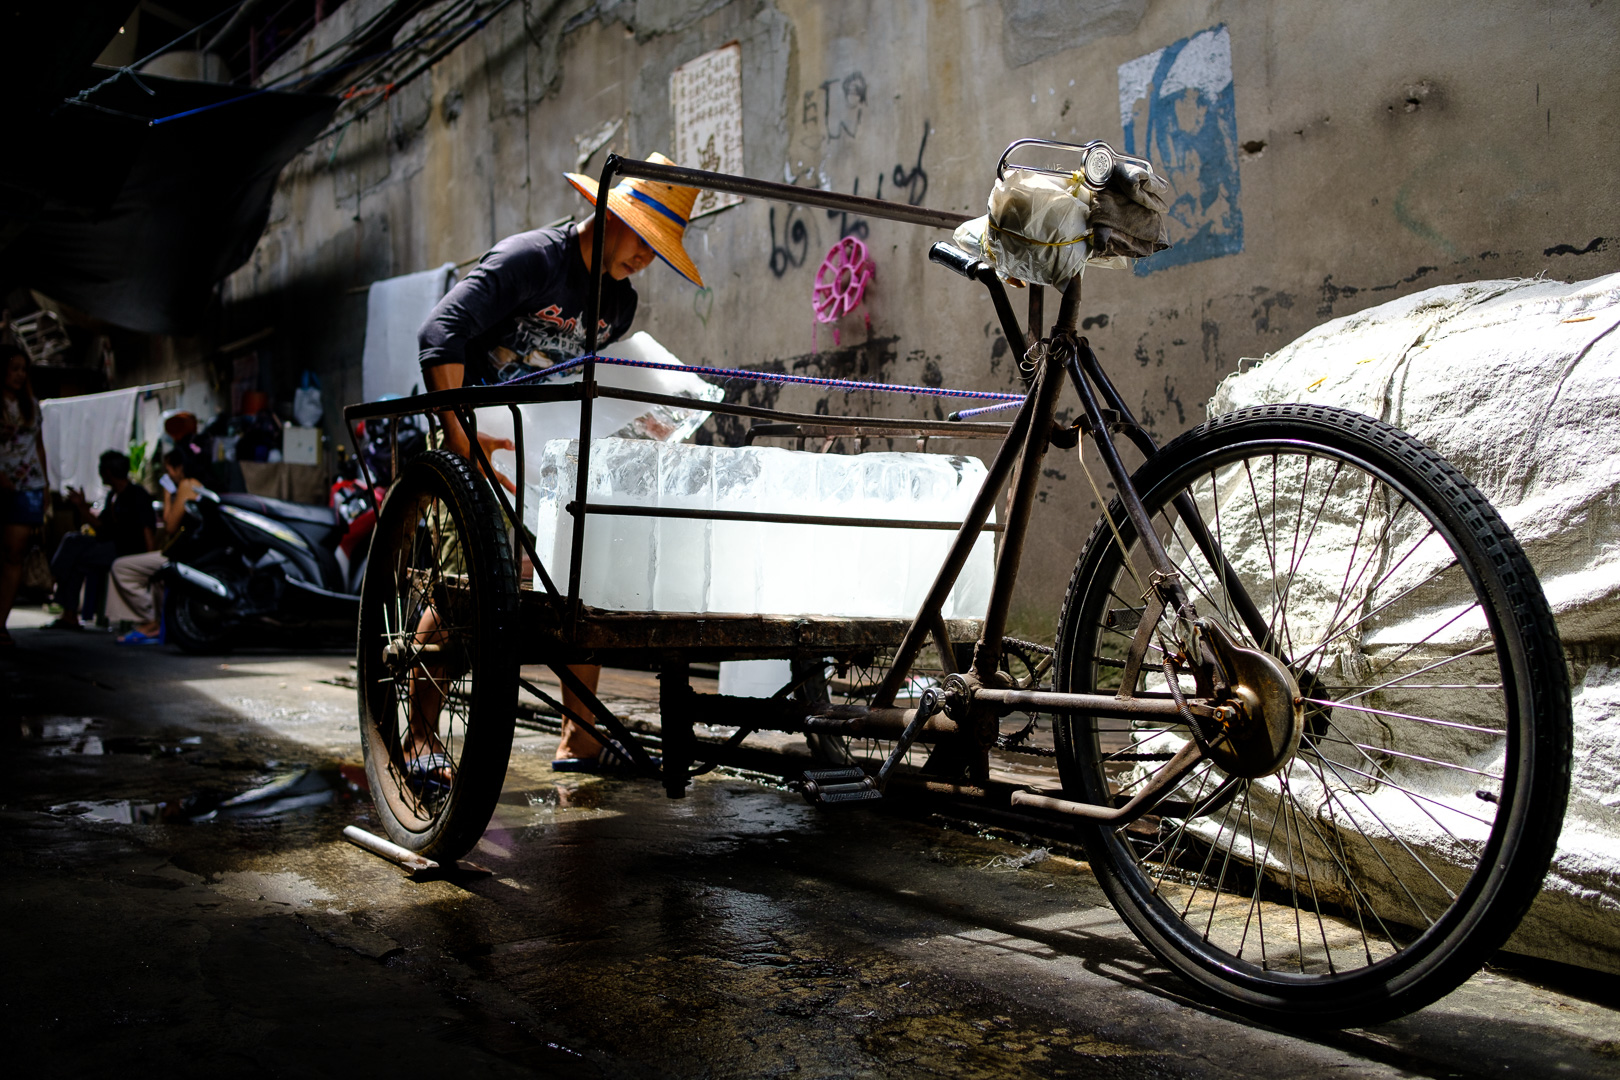
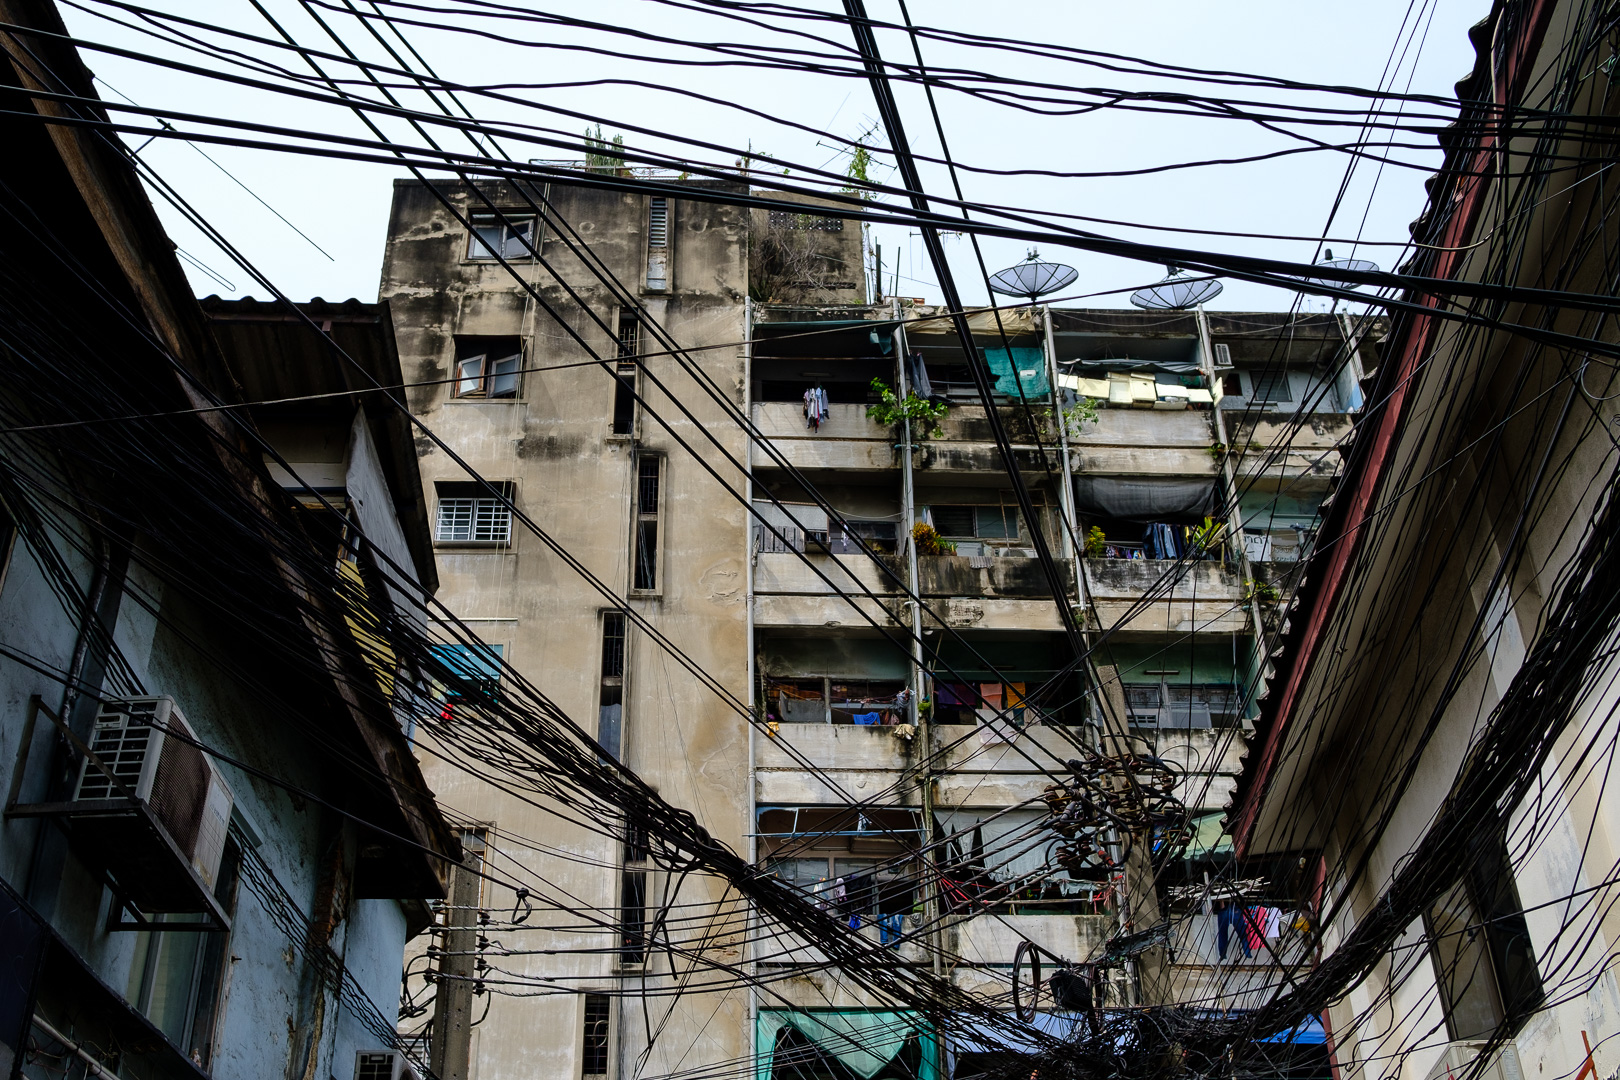
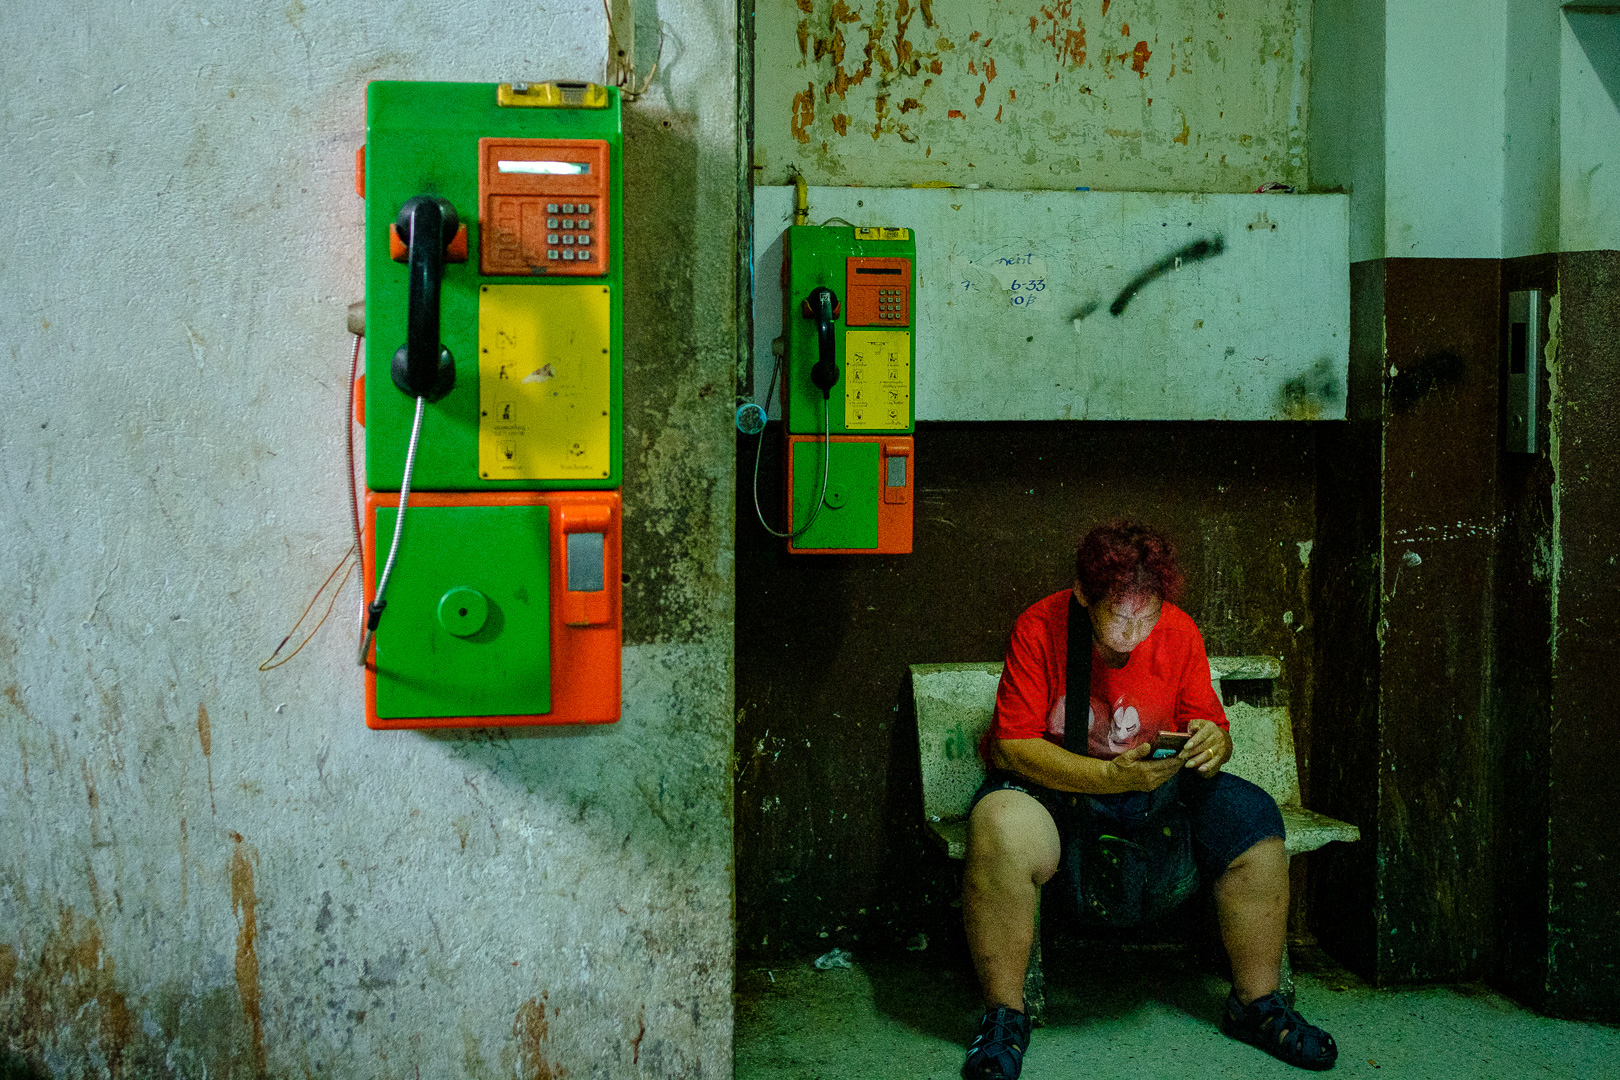
I’ll leave you with some images of Thailand:


Fujifilm X-T3 Unboxing!

I just purchased a shiny new XT3! I am super excited about giving it a thorough run-through. In the mean time, I’ve also filmed my first unboxing video. If you’re interested in seeing what comes in the box for the XT3, you can watch my video here:

Now it’s time to get out and take some pictures with my new camera. I’ll post again when I’ve got a feel for how it handles in the wild.

Why I'm excited for the Fujifilm X-T3

FujiFilm have recently released the new X-T3 mirrorless digital camera! I first got into the Fuji mirrorless systems three years ago. The X-T1 is my trusty sidekick that I take almost everywhere. It is a great camera and still performs perfectly. Now that the X-T3 is here, I thought I'd share the features I’m most excited for and my thoughts about upgrading.

1) The new back-illuminated 26MP X-Trans CMOS 4 sensor.

This is going to be a significant upgrade over the 16MB X-Trans sensor in the X-T1. Not only more megapixels, but an improved native sensitivity and less noise too. The new faster processor, and new film simulations are going to be a blast to shoot with.

2) The improved auto-focus.

There is nothing wrong with X-T1’s auto-focus, however being able to use the entire sensor of the X-T3 for phase detect focus points will definitely help nail the focus for any composition! When shooting fast moving subjects in continuous focus mode, the X-T1 can struggle a little. It will often search a bit when the subject is still, and will sometimes switch focus to background or intermediary obstacles when panning to follow a quickly moving subject. My gripes here are a little exaggerated and I’ve definitely been able to take some great shots tracking fast moving subjects, but having some extra smarts built into the camera will definitely help. And the improved face and eye detection will be a nice upgrade for portrait sessions.

3) The control layout and articulating screen.

I love the layout of the controls on the X-T1. The controls remind me of when I first learned photography on film cameras. But even if you don’t have previous film experience, controlling the aperture on the lens and the shutter speed and ISO with dedicated dials on top of the camera makes it really simple to adjust the exposure manually and allows you to just focus on taking great photos. The controls on the X-T3 are essentially the same, with only minor, ergonomic improvements, so transitioning to the new model will be a breeze. The screen on the X-T3 also articulates on multiple axes, which will definitely help with composing for very low or very high camera angles.

4) The improved Electronic View Finder (EVF)

The EVF has been improved with a higher resolution of 3.69 million pixels. The magnification is slightly down at 0.75X, but the refresh rate is faster and blackout-free continuous shooting will make it easier to track subjects without losing sight of them. When I first used the EVF on the X-T1, I was blown away! Focus peaking, dynamic histogram, being able to review images in the viewfinder and not just on the back screen, seeing the exact exposure and film simulation effect live. It’s just a pleasure to use and has definitely upped my photography over traditional DSLRs.

5) Bluetooth Support

The X-T1 has wifi support to allow you to connect your phone to control the camera remotely and transfer images. Though this could be a little slow and could tax the battery. Hopefully Bluetooth will allow for a more continuous, low-power connection and allow simpler geo-tagging of images.

The camera is available in both silver and black, so all that’s left is to decide which colour to get.

Air Show London Report back

Air Show London 2018 is over and despite the weather, it was a great day out seeing planes and aerobatics and taking photos. Now I've got over 1800 images, a bunch of video footage and 3 rolls of film to sift through! Hang on - film? In 2018? Seriously? Well, let me back-up a bit and start from the beginning.

Two years ago I went to the air show and I rented the XF100-400mm lens for the weekend. This is a great lens and was perfect for the job. But since then, my gear has grown and I now have the awesome work-horse XF50-140 F2.8. 140mm is a bit short for getting decent close-ups of flying planes, so I needed more reach. I got Fuji's 2X tele-converter. I love macro work and since the XF80m can also take advantage of this modifier, it seems like a sound purchase. Especially since it's a quarter of the price of the 100-400!

So armed with my new tele-converter, I now effectively have a 100-280mm F5.6 which is adequate on the crop-sensor of the X-T1. Sure it doesn't have the reach of the 400, but looking at the EXIF data on my photos from the previous show, most of the focal-lengths were around the 300mm mark, so now I was good to go for the flying displays. For the static aircraft, the trusty XF10-24 F4 is perfect for some super-wide images.

I've been wanting to experiment with video for a while and wanted to do something a bit different from the last air show. So I took my GoPro along. My plan was to get some footage of walking around the planes on the apron. Wasn't expecting much use for the aerobatic displays, but I did try capture some video of the Snowbirds formation flying.

So why the film? I enjoy doing some old-school film photography every now and then. The pace is different. It's slower, more considered. You're restricted to 36 shots on a roll, so you can't just snap away and cull later. You have to consider your composition more carefully and only squeeze the trigger when you're completely happy with it. And using film would be different to what I did before.

And that's the key. If you want to improve, you need to keep doing new and different things - get out of the comfort zone and experiment. And most of all - have fun.

Now it's time to go back to processing all those images. In the meantime, here are a handful of moody images from the static displays at dawn:


Three Quick Tips for Airshow Photography

Airshows are exciting spectacles of planes and aerobatics. There is lots going on and many things to photograph. Here are some quick tips to help get the best images you can.

1. Overexpose by 1 to 2 stops.

When you are taking photos of flying planes, you are shooting them against the sky. And the sky is bright. Really bright! And the meter in your camera is not very smart. It will try make the very bright sky a neutral grey and this will turn your planes into silhouettes. To counteract this, you will want to increase your exposure by a stop or two. I usually shoot in either aperture priority or shutter priority mode, so I just roll the exposure compensation dial up to +1 or +2. You can pull the highlights down again in Lightroom to recover the sky, but at least you will have the details in your subjects.

2. Use continuous tracking auto-focus

You’ll be trying to focus on fast moving planes. Let your camera do the work for you. Set your camera's auto-focus to continuous tracking. Half press the shutter and the camera will do it's best to keep your subject in focus. Pan with the plane, trying to keep it centered in  your view and only fully press the shutter when you want to take the shot. While your camera will do its best, some cameras have better tracking than others and this won't guarantee all your shots will be in perfectly tack sharp focus. So this leads us to the next tip.

3. Shoot in high speed continuous burst

Gone are the days of 36 shot film and motor-drive attachments. Digital storage is cheap and almost all cameras have a burst mode. So make sure you have a big, fast memory card and burst away! Half press the shutter to get your auto-focus tracking going and pan with the plane as it approaches and then gently squeeze and hold the shutter to shoot a continuous burst as it passes. Keep your movements smooth, no jerky motions, and release the shutter when the plane has passed, or you've lost track of it. Afterwards you will have hundreds of images to go through, but you will have a better chance of getting at least a few good ones from each fly-by. Keep the good ones and delete the rest.

The most important thing to remember is to just go out and have fun. Hopefully these tips should help you come away with some great shots to remember your day.

And one final parting tip: remember to bring a hat and use sunscreen! It is never pleasant to come away with a bad sunburn.

How to get that postcard shot

Wherever I travel, I like to get that iconic, postcard shot. The Eiffel tower in Paris, or the medieval abbey of Mont Saint Michel. Even though these are common subjects, with a little care and preparation, they can make awesome images that will look great on the wall.

Before traveling, I do some searching of the internet for images of the destination city. I like using Google Image search as a starting point and identify prominent and photogenic landmarks and features. In our recent trip to Bordeaux, the Water Mirror struck my fancy. This is a fountain and very shallow splash pad that creates a mirror-like surface reflecting some beautiful old buildings.

The next step is to find out where the landmark is located and plan a place from which to take the picture. There are many apps and tools that can help with this. I fire up PlanIt! Pro on my Android phone. I’ll place markers on the map for the subject and camera locations. Then, if available in the area, I will use the built-in street-view to preview the location. I can set the date and time of day and check when sunrise and sunset will occur and see the positions of the sun and moon. Check the focal lengths guides, so you know which lens to use.


This is where I play around and try to visualize the shot I want to make. For the water mirror shot, I knew that the buildings are to the west of the mirror and they are illuminated at night. Shooting across the mirror into the sunset could make a spectacular image, with the fading, dark blue sky, and yellowy-orange illuminated buildings and depending on the weather, the sky could be dramatic too. This is my plan.


There is a saying “no plan survives contact with the enemy”. This is doubly true for photography! There might be construction, or road-works or scaffolding, or the weather can be uncooperative. Virtual scouting is no substitute for being there and seeing the place in person. If possible, I try to go to the location before my intended time for the photo and see the place for myself. This allows me to if the expected lens and pov will work. Checking things out ahead of time makes it easier later when setting up the shot for real under time pressure when the light is fading. If I have the time, I also try some different compositions or sketch images. Again, this allows me to play around so that I’ll be prepared and know exactly what I’m going to shoot later.

When the intended time comes for the photo, I make sure to get into position and set up a little early. You might think you have plenty of time, however when the sun is rising or setting, things happen far quicker than you expect. Being prepared ahead of time gives me the best opportunity to make the best photo I can. Patience is key. I take many photos and adjust the exposure settings as required. After travelling all that way, it would be a shame to just take one snapshot and leave and hope it’s good. I stay a little longer and take many images so that I can select the best later.

When I was taking the picture of the Water Mirror in Bordeaux, I hadn’t heeded my own advice. I hadn’t spent as much time scouting as I should have. There is a time during the fountain’s cycle when mist sprays up from the mirror. I hadn’t anticipated this and since I was using the XF10-24, which isn’t weather sealed, I had to pick up and my tripod and move it away to avoid the fine mist blowing around and return it into position after the mist stopped. In this case I was lucky that there were tiles on the floor and I’d made sure to align the feet of the tripod along the grout lines between the tiles. This made it simpler to return the tripod to the exact same position every time. Additionally, there were also a number of other photographers taking photos at the same time. It’s only polite to not hog a prime position.

What’s in my travel photography bag?

I’m getting ready to go on vacation and it’s time to prepare and pack my photography gear. Packing for travel always means some compromise - it’s not feasible to take everything. This means making some hard decisions. My guiding principle, is to go small and go light. We always do a lot walking around cities, and lugging around a ton of gear is just not fun. This is what I take with me:

I made the switch to Fuji and don’t regret it one bit! My main camera is the Fuji XT1. It’s a little old now, but it’s still a great camera. The image quality from the X-Trans sensor is fantastic. It’s small and lightweight and it’s also weather sealed. When coupled with one of Fuji’s weather sealed lenses, it can handle almost any weather we would encounter.

I try not to take too many lenses with me, as that can lead to a analysis paralysis. Less is more here. My go-to is the often overlooked 18-135mm. Yes, it’s not super fast, but it is small and light and has a great range. If I don’t know ahead of time what I’m going to shoot, this is the lens most often mounted to the camera. It’s weather sealed too, which is an added bonus if the weather turns bad. Next up is the 10-24mm ultrawide. I love this lens! Image quality is great, as with all the Fuji lenses I’ve tried. When I want a versatile wide angle, this is what I use. Finally, there is the 35mm F1.4. There is just something magical about this lens. F1.4 means it’s super fast and good for low-light or night shots and it is a useful focal length too.

As a backup camera, the tiny X70 comes along. It has the same sensor and image engine as XT1, but it fits in a pocket! The fixed 18mm lens is a nice travel wide angle and useful for some street photography.

Since these are both mirror-less cameras, it’s important to bring a bunch of backup batteries and chargers. Nothing is worse than running out of juice when you’re trying to get a shot. I have tried some non-branded batteries before, but I find they hold significantly less charge than Fuji’s. They also don’t keep their charge as long when not in use, which results in reaching for a fresh battery to find it only lasts a few minutes.

Other useful accessories include a cable release for night shots and long exposures. A polarizing filter can be useful to reduce haze in the sky or cut down reflections. An 10 stop ND filter from Breakthrough Photography is useful to take long exposures during daylight and add some dramatic streaks to sky and water. With all this talk of long exposures, a small, lightweight tripod is very useful. It’s a delicate balance between weight and stability, but I find the MeFoto RoadTrip Travel Tripod does a good job. I also usually take a tiny folding tripod in my bag so I don’t have to carry the full-sized one everywhere. This time I’m taking the new Platypod Ultra for when I need a discrete stable platform.

For backing up and editing in the field, I use a Microsoft Surface Pro 4. It’s small and very light and using the smart pen to draw directly on the screen is useful for editing. The built in SSD is also fast, which helps backup and editing speed.

And of course, don’t forget to bring lots of SD cards! I format these cards before leaving and put them in a holder case ‘face up’. Used cards go back in the case ‘face down’ so I can quickly identify which have been used and which are empty. I don’t delete or format these cards until I’ve returned home from travelling and backed everything up.

All of this needs a back to carry everything. The Everyday Messenger from Peak Design is my go-to. It’s a great looking, versatile bag. It has some very useful accessibility features like the separate laptop pouch, top zip and passport pocket. Since I keep my camera gear small, there is some space left over for a top, or snacks or water - which can be very useful when you’re out wandering around strange new places!